
Curve EditorReshape any move.
Pick two keyframes on any property and bend the curve between them: Bezier handles, bounce, elastic, spring, steps, or draw it by hand. It sits beside the Timeline in the Keyframes tab.
- Bezier handles
- 42 preset curves
- Bounce · Elastic · Spring
- Steps
- Draw your own
- Live from the Timeline
- All properties at once
- My curves
- Copy cubic-bezier
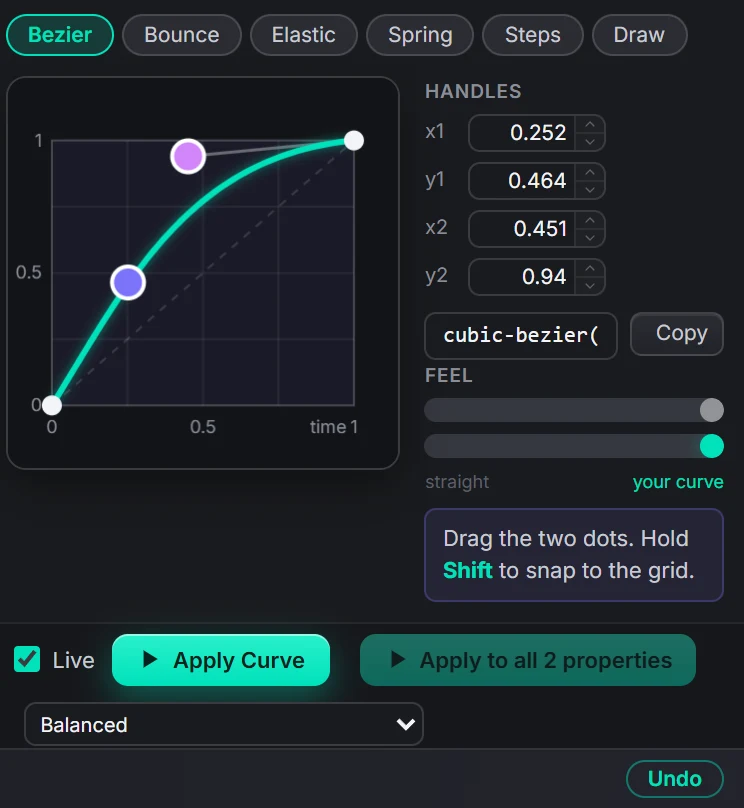
Premiere's own easing stops at Bezier. The Curve Editor gives you the curves motion designers use, and writes them as extra keyframes along the curve, so the result plays back in any Premiere without Glide installed. Click a stretch in the Timeline and its curve opens here, live: each change goes on the clip a moment after you make it. A curve Glide applied stays a curve, so you can come back and change it later.
42 shapes, drawn by the same maths.
Hover a curve: the dot follows it and the block below moves with that easing. They are generated from the curve code inside the plugin, not drawn by hand.
What Curve Editor gives you.
Bezier with handles
Drag the two dots, hold Shift to snap, or type x1 y1 x2 y2. Paste a CSS cubic-bezier() from a website, or copy yours as one. A Feel preview runs a dot on your curve beside a straight one.
Bounce, Elastic, Spring, Steps
Curves Premiere cannot make on its own, each with its own sliders: bounces and height, wobbles and fade out, wobbles and settle, the number of steps.
Draw your own
Click to add up to 12 points, drag them, double-click to remove one. Join them smoothly or with straight lines.
Live from the Timeline
Click the line between two keyframes in the Timeline and its curve opens here. With Live on, the clip follows as you drag.
Change it later
Glide remembers the curves it applied. Come back to the stretch, change the curve and apply again, no undo needed.
My curves
Save any curve by name and star the ones you use. Copy them as text to send to someone, import theirs, and pick them in Element presets' Ease list too.
Every shape in the editor.
42 preset curves, each button with a small picture of its shape. Twelve popular ones show first; Show all presets opens the rest.
Bezier presets
Linear · Ease · Ease In · Ease Out, and Sine, Quad, Cubic, Quart, Quint, Expo, Circ and Back, each as In, Out and In-Out: 28 in all. The three Back curves overshoot by design.
Bounce
Bounce, Bounce Soft, Bounce In, Bounce In-Out. Out, In or In-Out, with sliders for the number of bounces and their height.
Elastic
Elastic, Elastic Loose, Elastic In, Elastic In-Out. Overshoots and wobbles in, with sliders for the wobbles and how fast they fade out.
Spring
Spring, Spring Snappy, Spring Wobbly. A damped spring that swings past the end value and settles.
Steps
3, 5 or 8 steps, or your own count from 2 to 16. Stop-motion and stepped counters.
Draw
Up to 12 points you place yourself, joined smoothly or by straight lines. Clear points makes it straight again.
Curves become keyframes.
The two keyframes stay
Glide never moves your two keyframes; it rewrites the stretch between them.
Extra keyframes along the curve
Premiere can't hold a bounce or a spring between two keyframes, so the curve is written as keyframes that follow it. The panel says how many, about 13 for a typical ease.
Smoothness
Five levels shared with Clip presets, Smoothest (most keyframes) to Lightest (fewest). Lighter projects play back more easily.
One property or all
Apply Curve shapes the property you picked. Apply to all properties gives the same curve to every property moving at the playhead, so Scale and Position ease alike.
Reads back as a curve
The Timeline sees the written stretch as one eased stretch again, presets included. Glide remembers up to 300 curved stretches, as long as their keyframes still follow the curve.
Undo
One undo step per Apply, in Glide's own history, even when the curve went on several properties. Live changes to a stretch are one step too.
Three steps.
Two keyframes
Select a clip with two keyframes on a property. Click the stretch between them in the Timeline, or put the playhead there.
Pick a curve
A preset shape, your own handles, one of your saved curves, or draw it.
Apply
Live puts it on as you go. Otherwise press Apply Curve, or Apply to all properties.
Questions about Curve Editor.
Where is it in the panel?
In the Keyframes tab, beside the Timeline, or under it on a narrow panel. Hide it for more Timeline room; clicking a stretch brings it back.
How does a bounce work in Premiere?
Premiere keyframes only ease with Bezier, so Glide writes extra keyframes along the curve, about 30 for a bounce at Balanced. The panel tells you how many before you apply.
Can I change the curve later?
Yes. Click the same stretch in the Timeline, or put the playhead in it, and its curve is back in the editor. Change it and apply again; no need to undo. Pick Linear to make it straight.
Which properties?
Any property with two keyframes: Scale, Position, Rotation, Opacity, and effect properties too.
Does the edit need Glide to play back?
No. The result is ordinary keyframes. Send the project to anyone.
The rest of the panel.
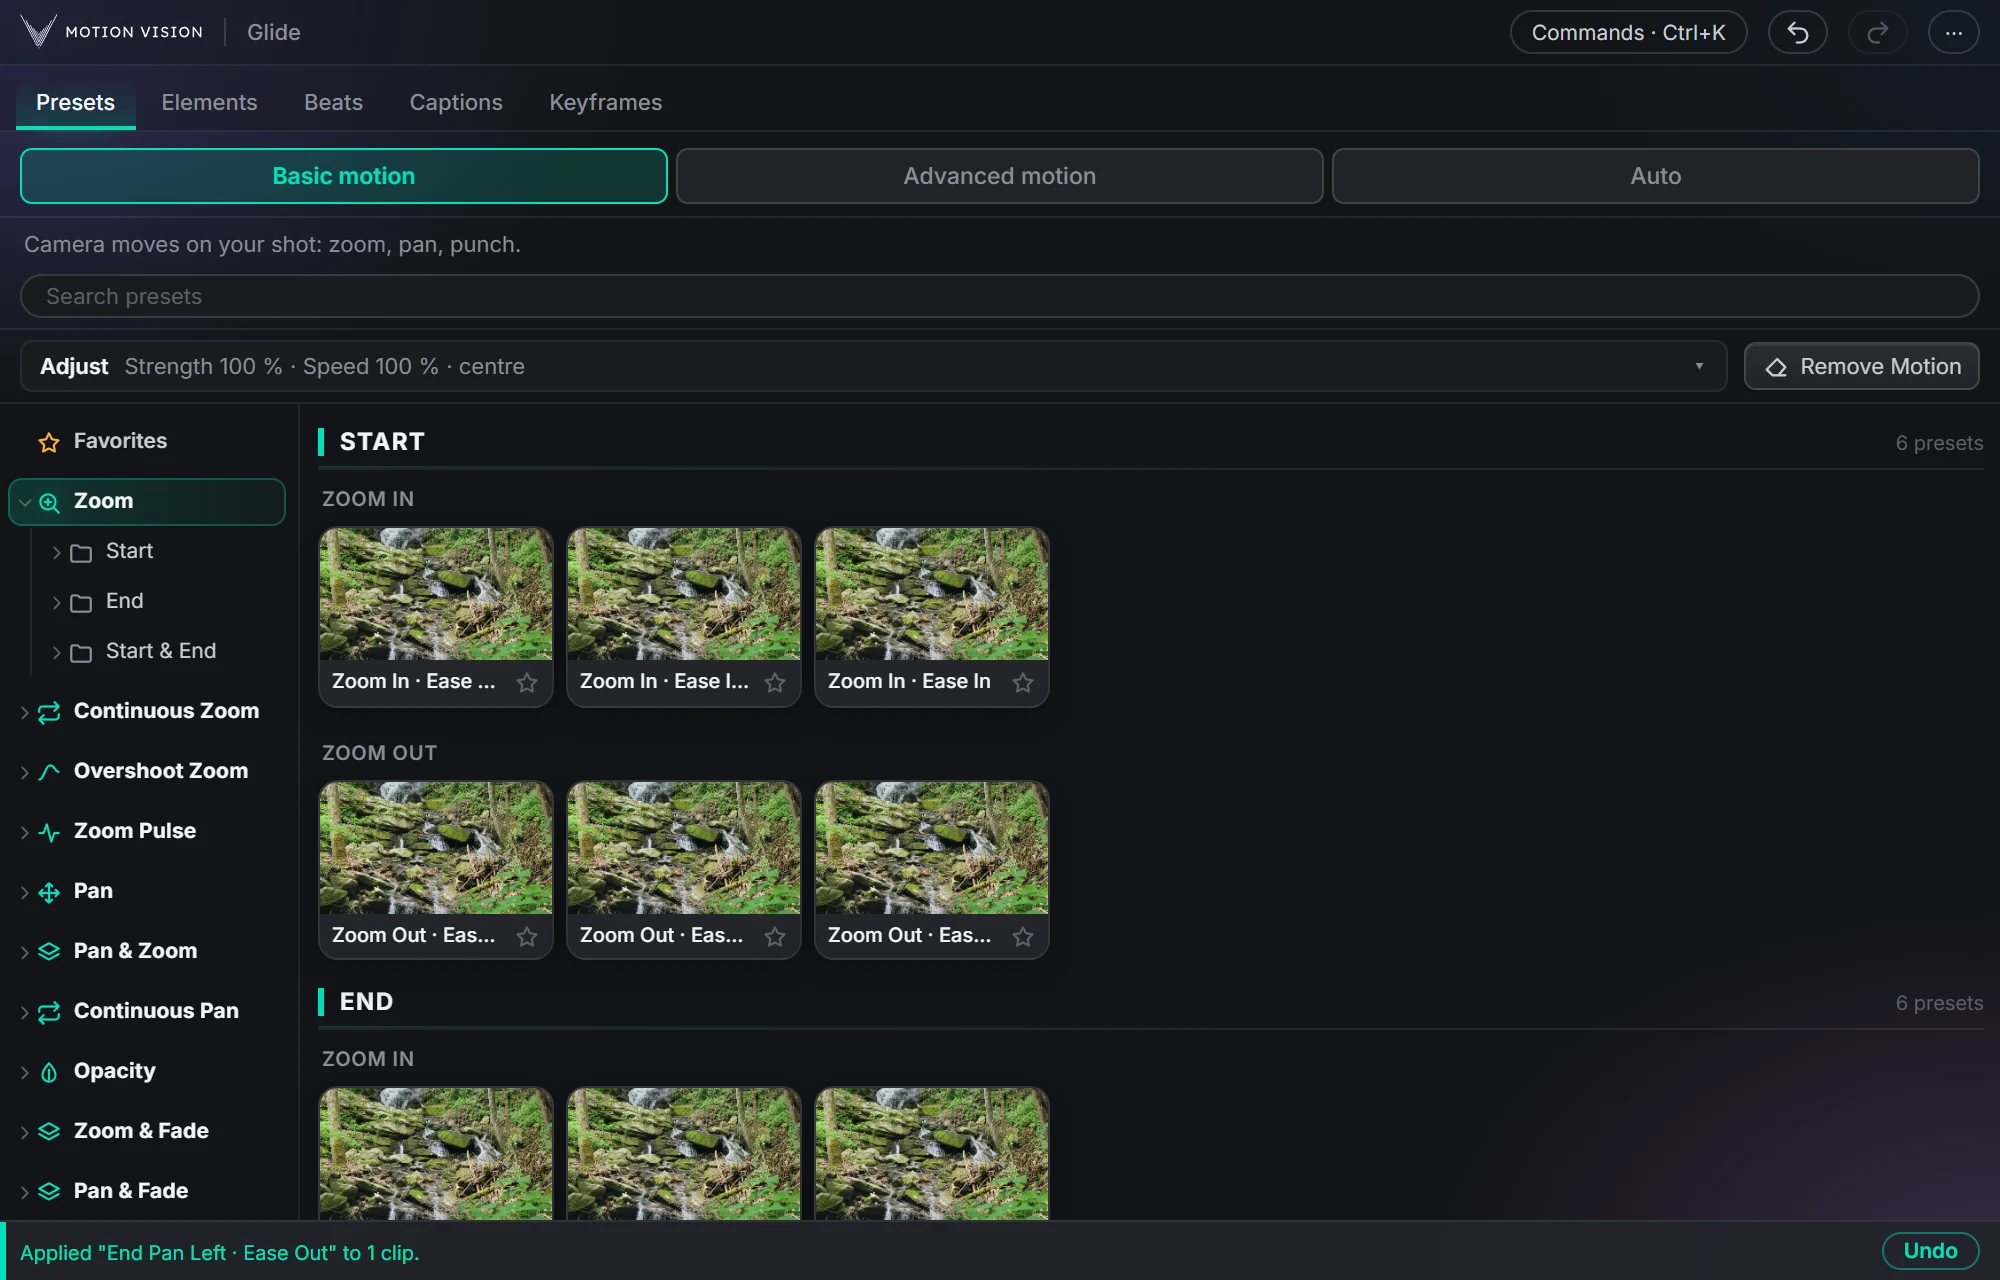 Camera movesClip presets321 zooms, pans, punches, drifts and fades, one click each.Learn more →
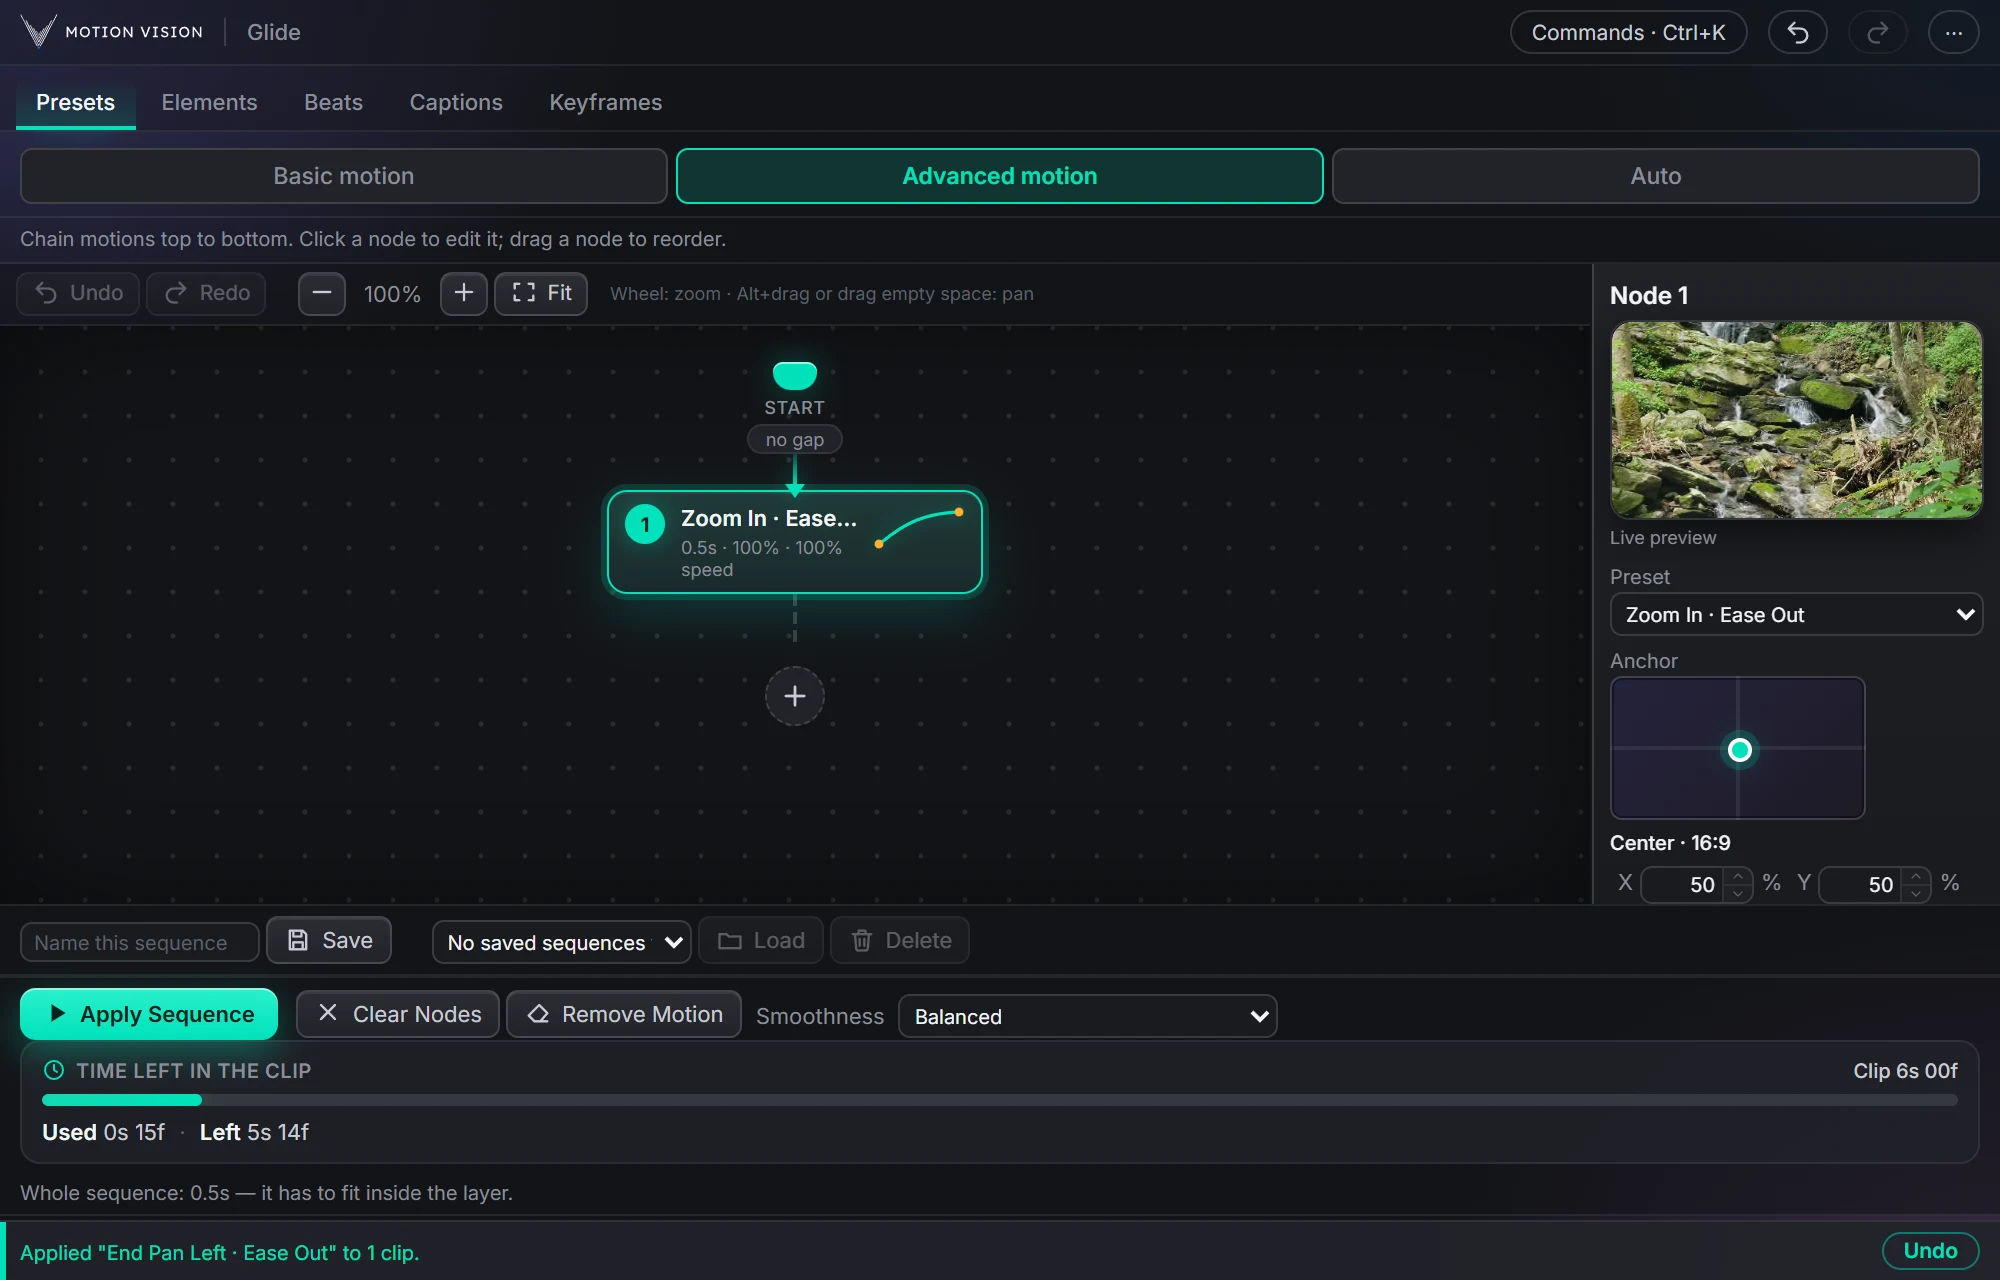 Chained movesAdvanced motionChain several moves on one clip and apply the whole sequence.Learn more →
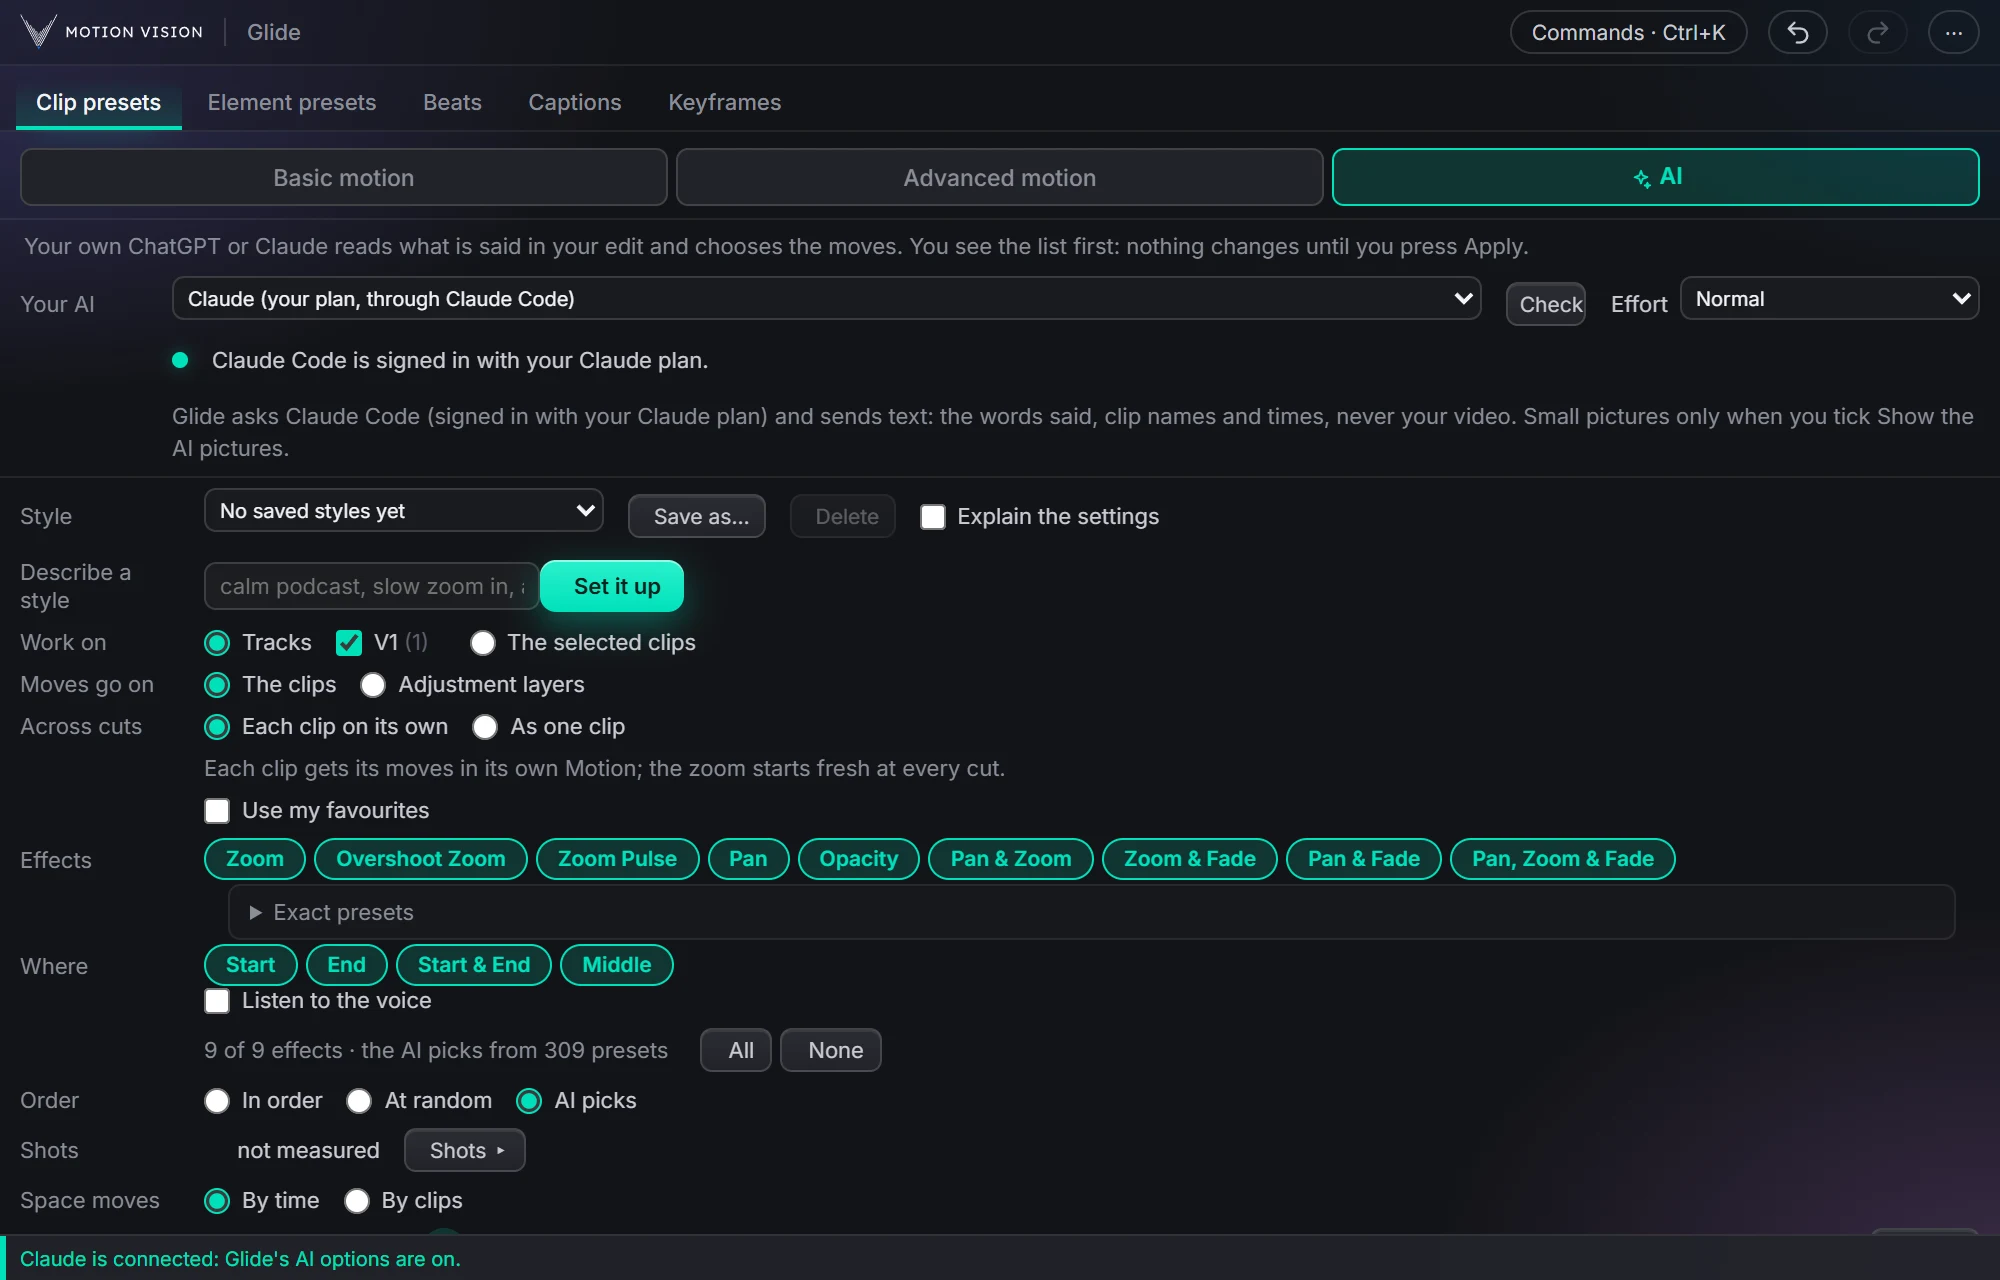 Whole editAuto-pilotMoves on a whole edit at once, with your own AI or without.Learn more →
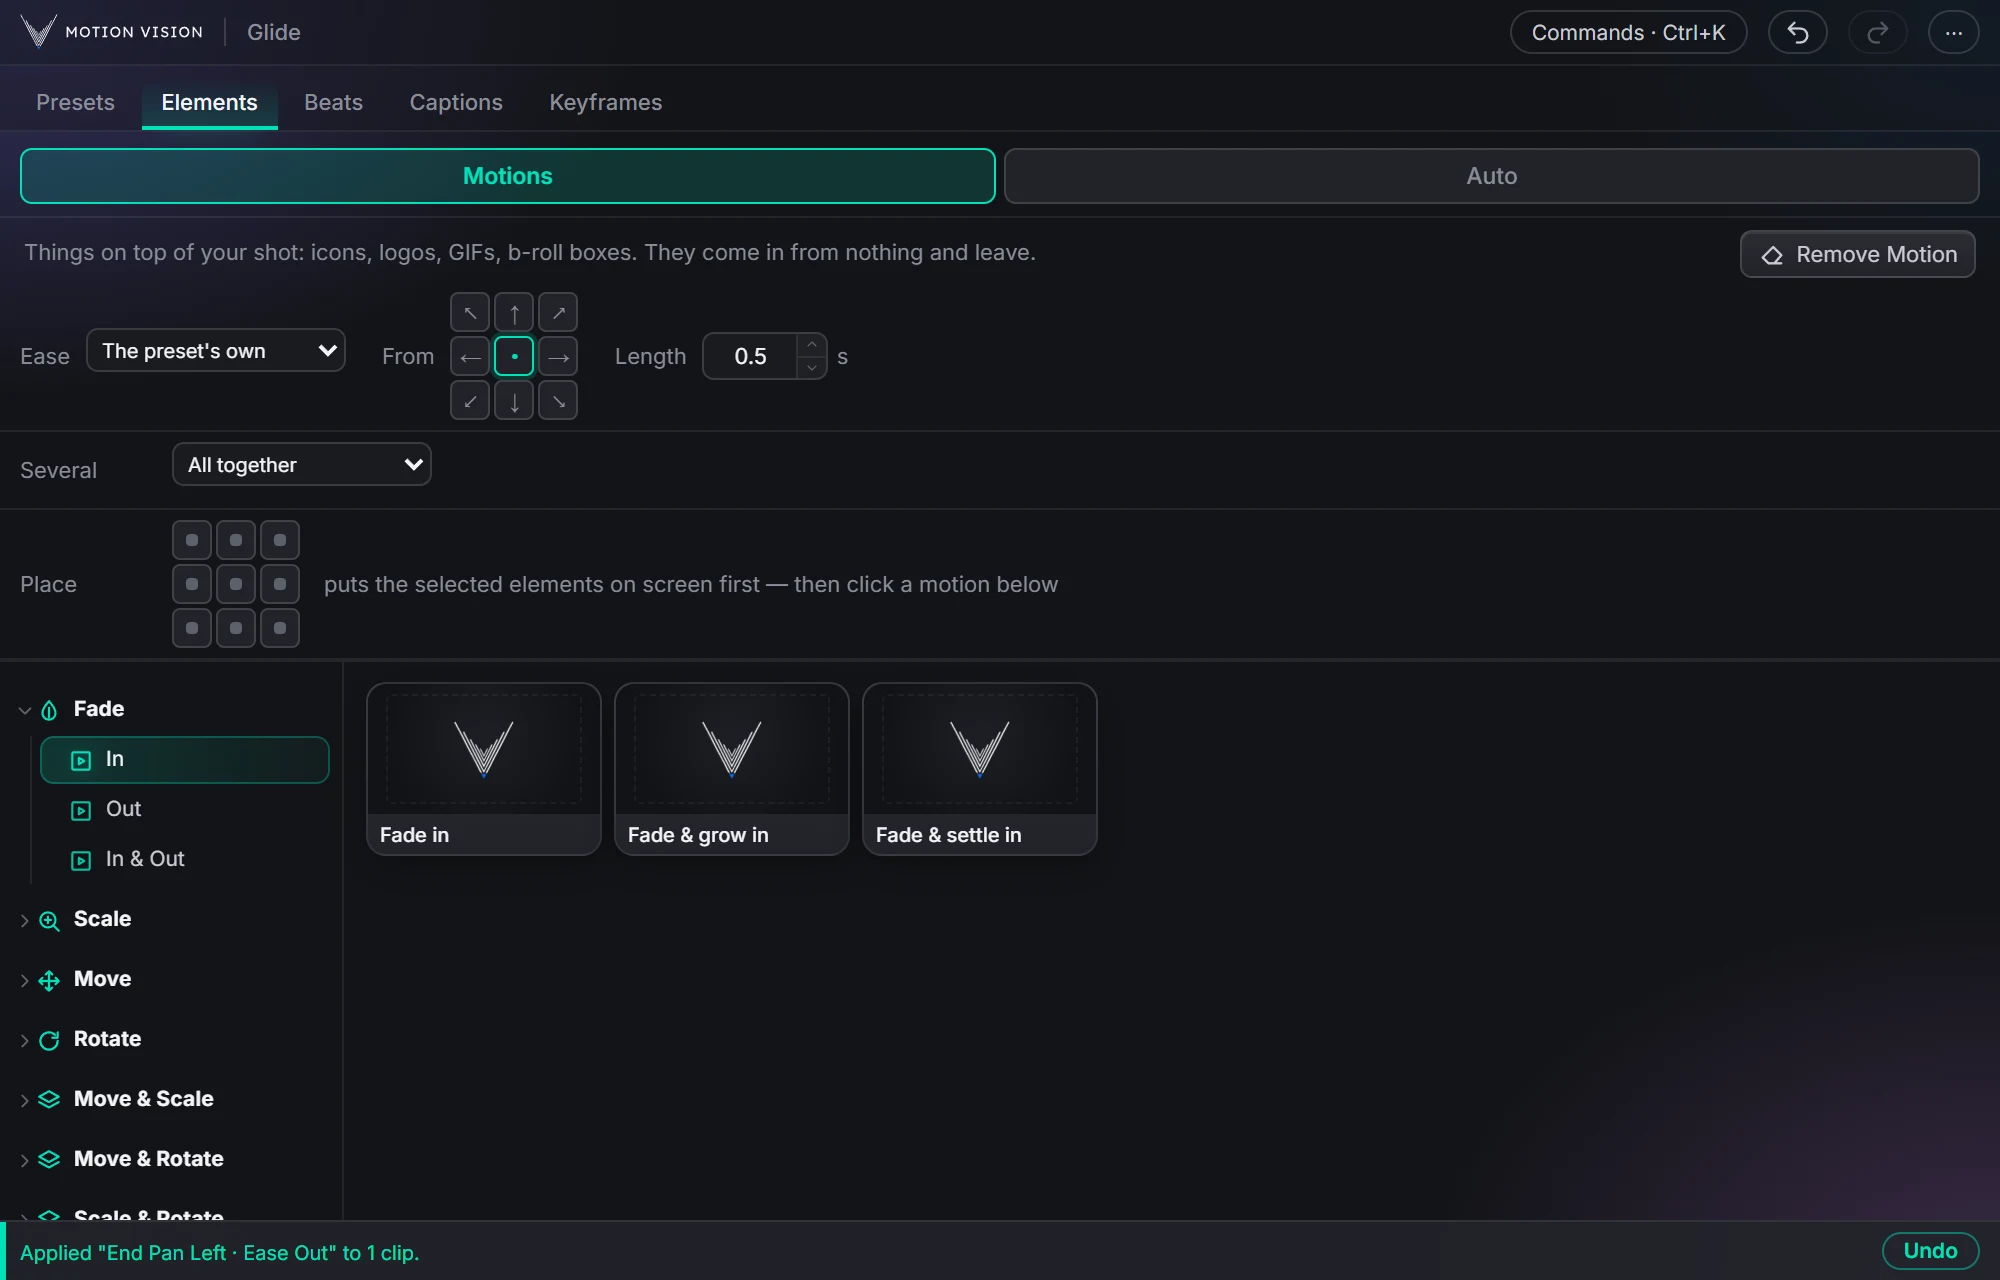 OverlaysElement presetsIcons, logos and b-roll that come in and leave.Learn more →
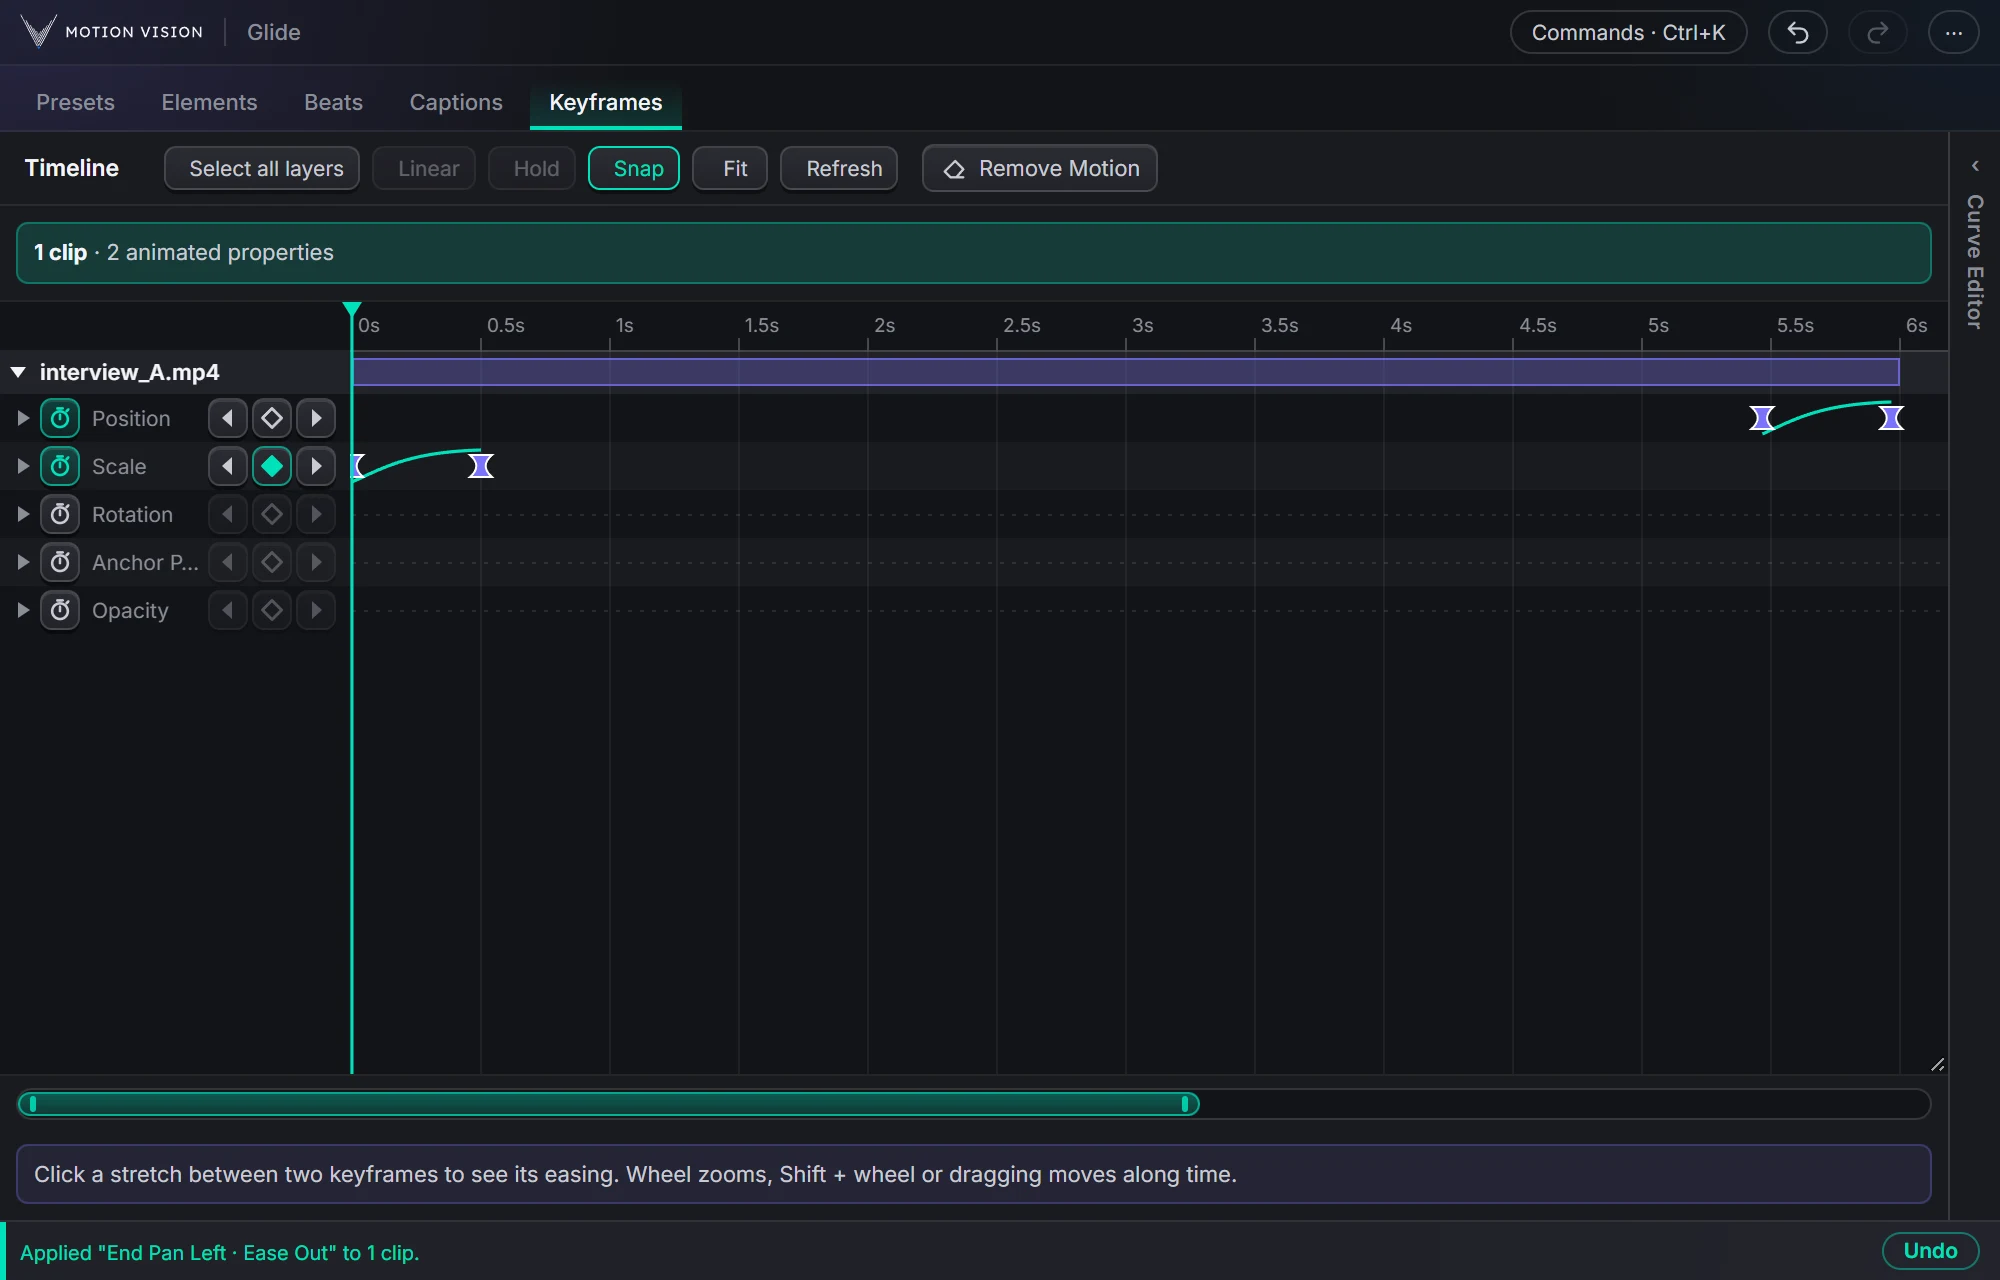 KeyframesTimelineEvery keyframe of the selected clips, in one view you can edit.Learn more →
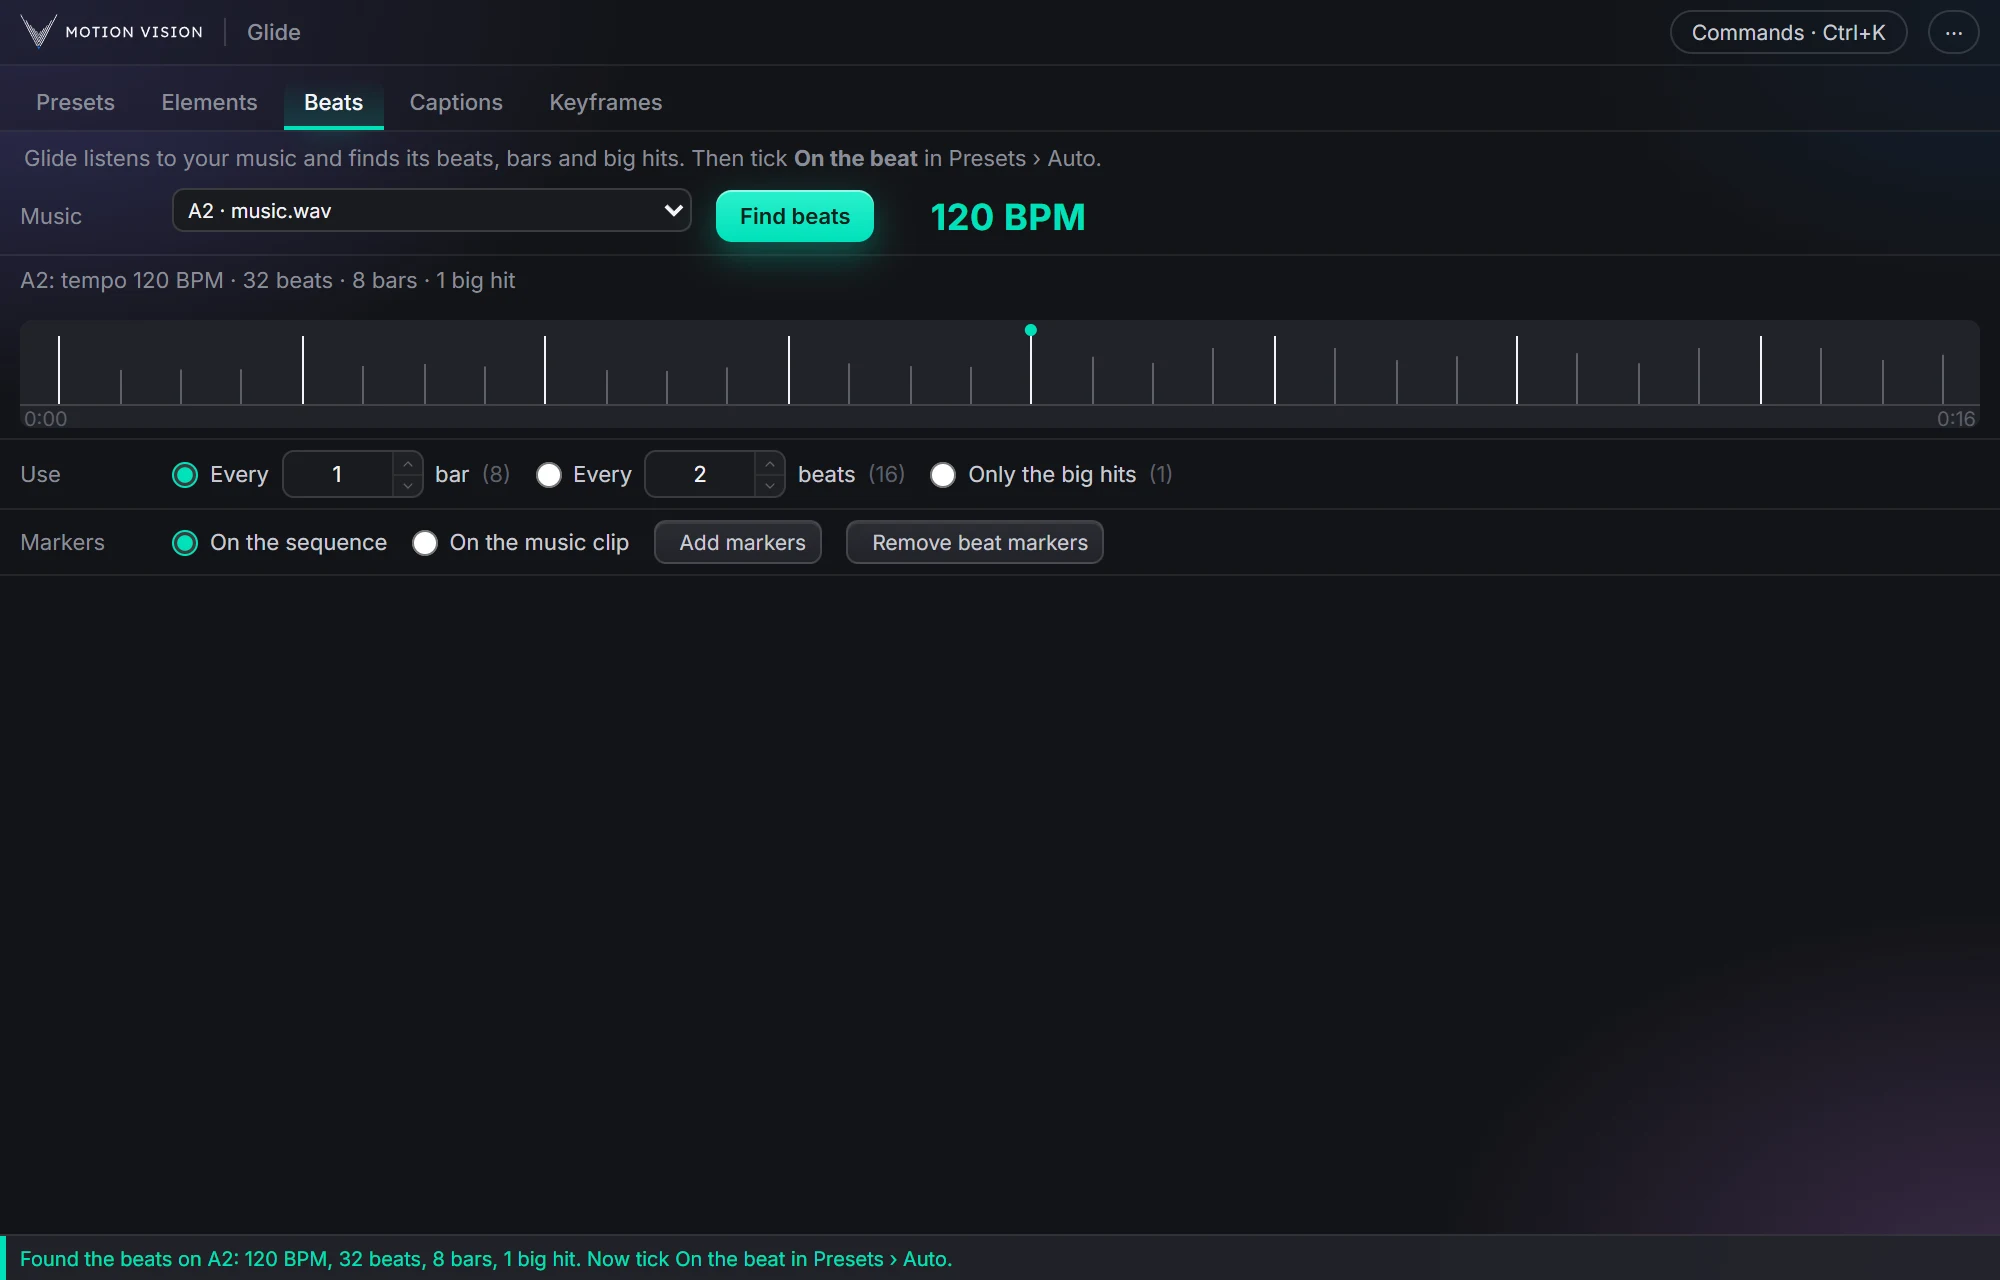 MusicBeatsReads the music and puts the motion on the beat.Learn more →
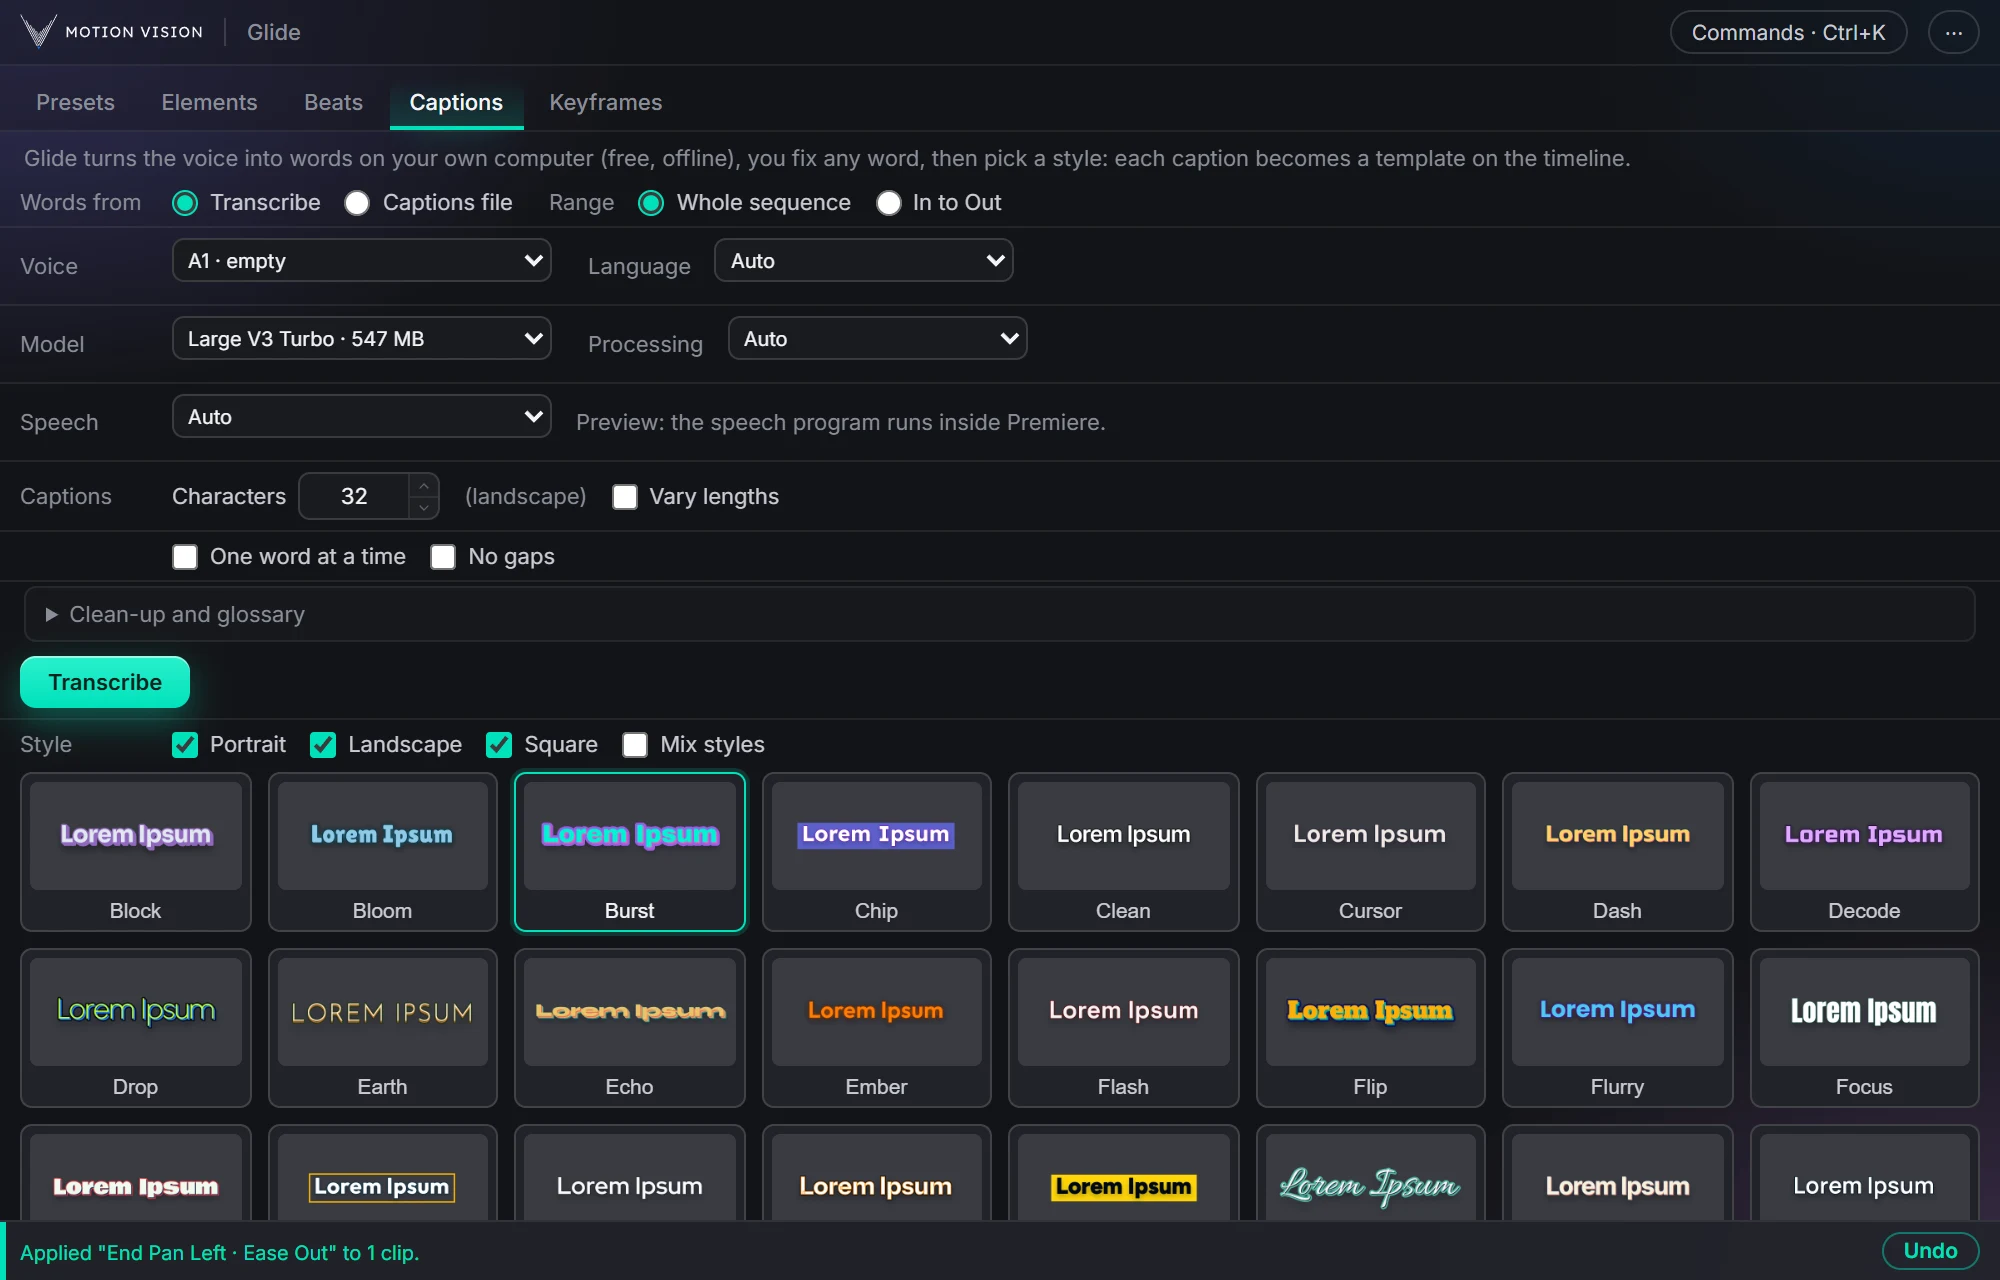 Speech to textCaptionsOffline transcription and translation, 82 animated looks and 12 fast ones.Learn more →
Get Curve Editorwith everything else.
One licence, all eight tools, with a 7-day money-back guarantee.