
TimelineEvery keyframe, one view.
Every animated property of the selected clips on one time axis: a row per property, a diamond per keyframe, and the easing drawn between them. Drag, retime, re-ease, and it writes back.
- All properties
- Audio Level & Pan
- Drag & box-select
- Easing per stretch
- Make a move
- Layer tools
- Saved animations
- Speed graph
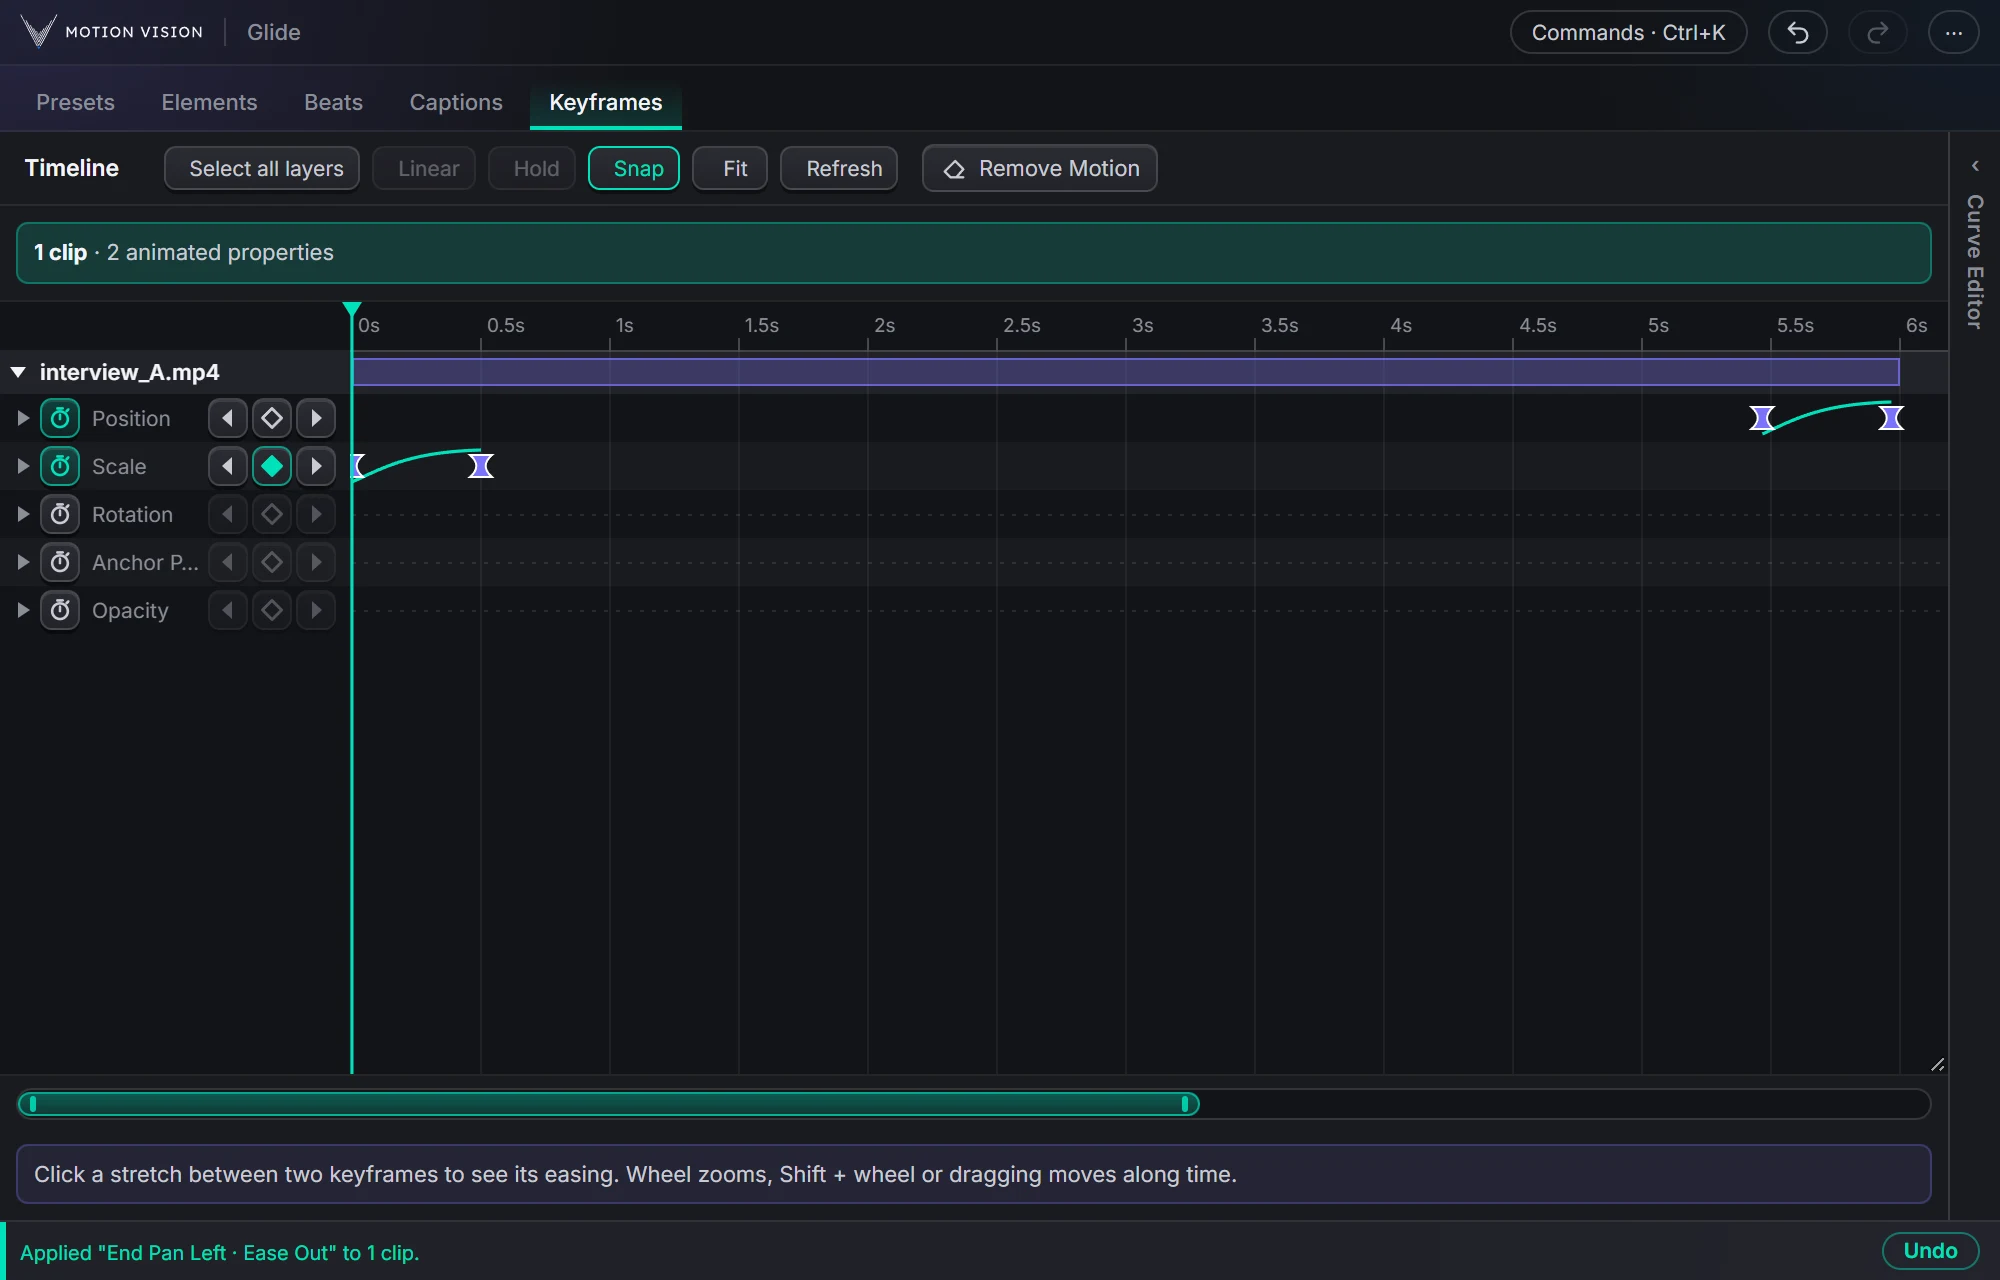
Premiere's keyframe editing means Effect Controls, one property at a time, and a graph editor few people open. The Timeline shows Scale, Position, Rotation, Opacity, effect properties and even audio Level and Pan of the selected clips together. It reads back whatever Glide or you wrote, works out the simple version an editor would draw, and lets you edit that: move, stretch, copy, re-ease. Then it writes plain keyframes back.
What Timeline gives you.
One axis for everything
A row per property, a diamond per real keyframe, a picture of the easing between two of them. Several clips at once, audio too.
Edit in place
Drag a diamond to move it, snapped to frames and the playhead. Box-select, Delete, add a Key at the playhead, type a value under a property name.
Easing you can see
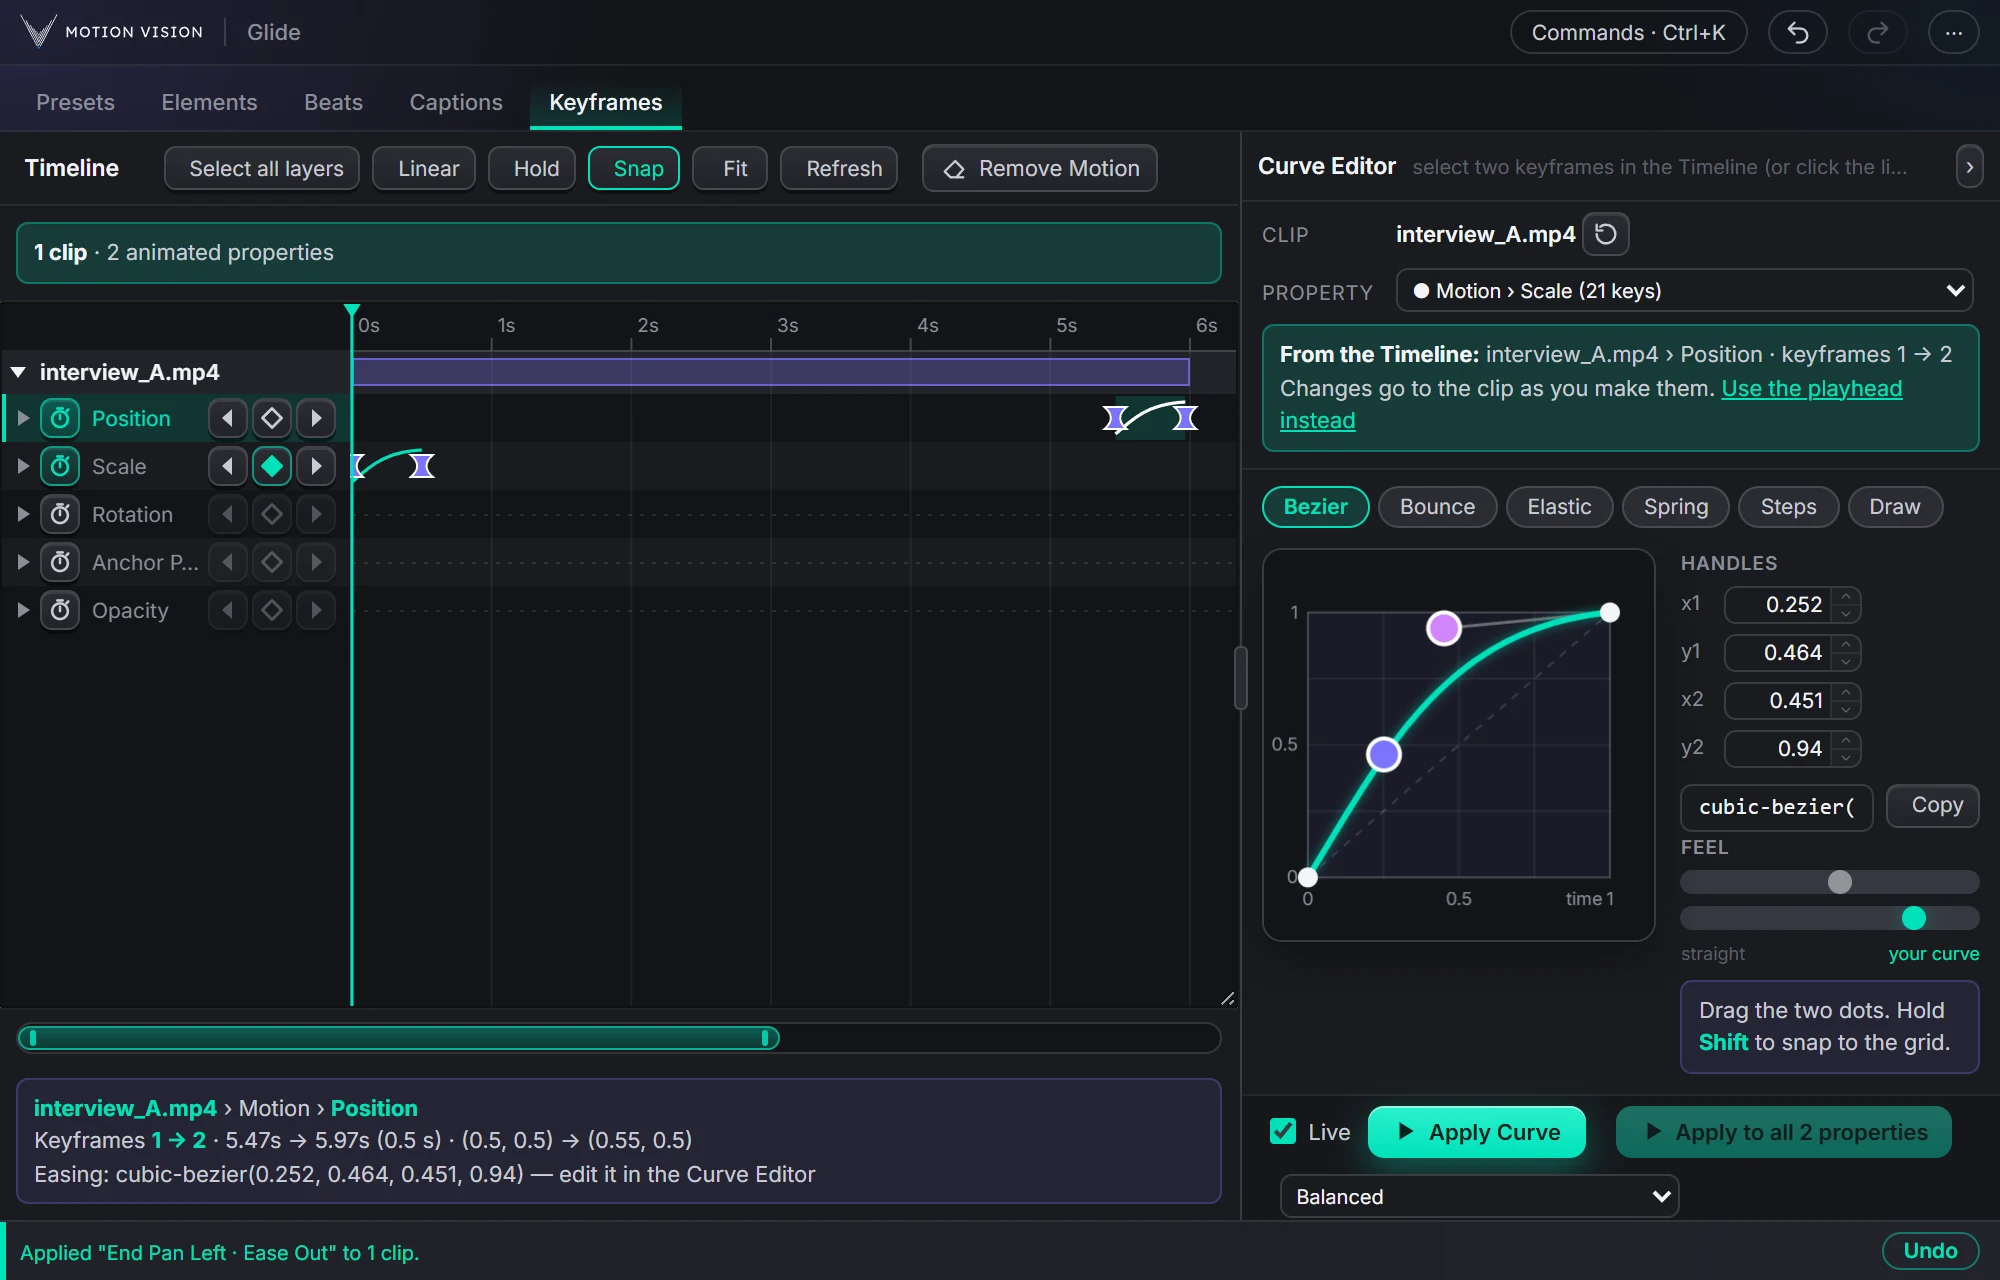
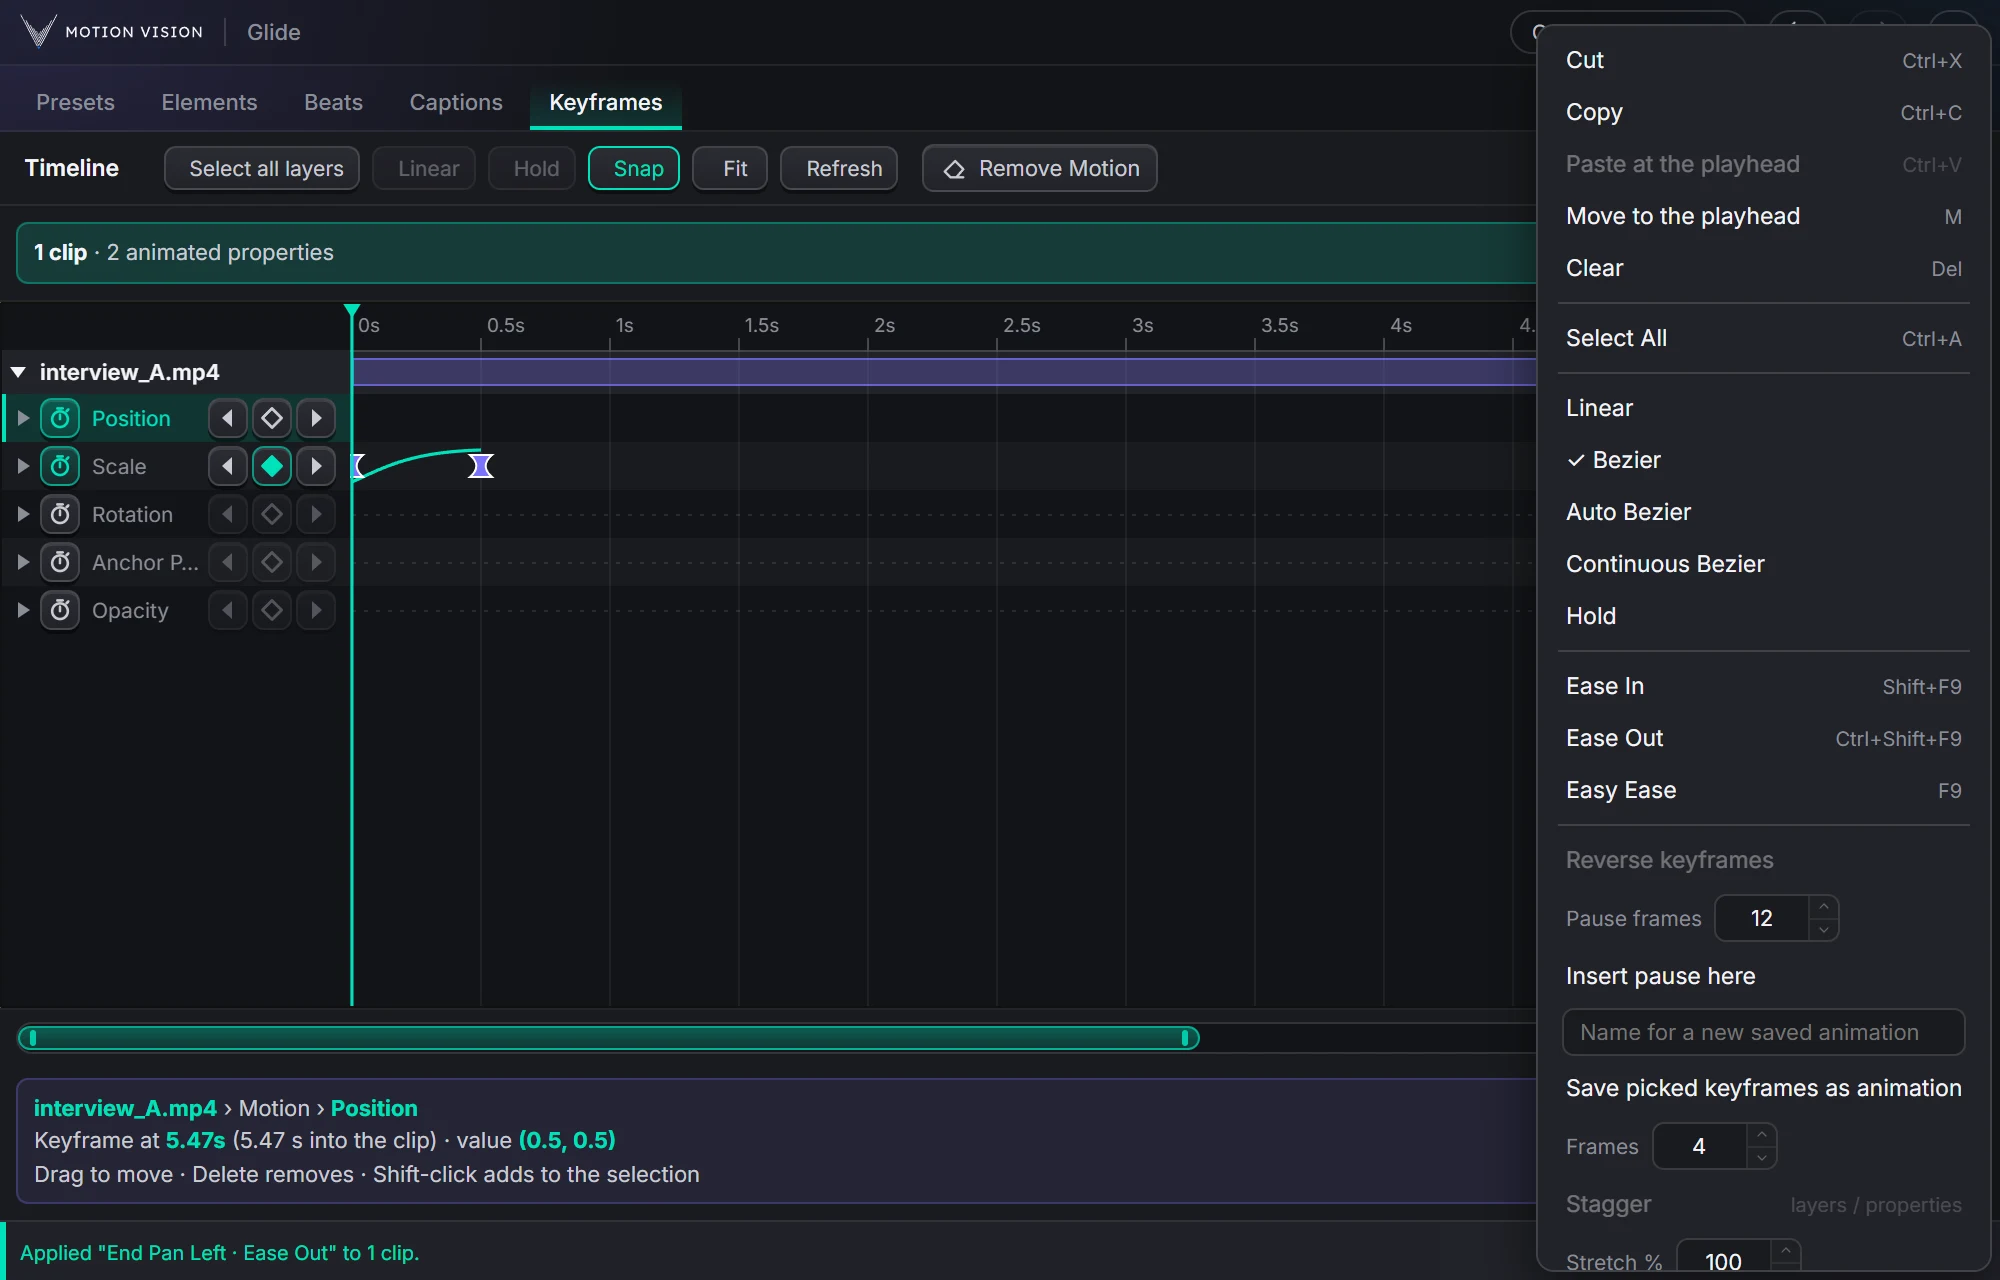
Click a stretch and its curve opens live in the Curve Editor. Ease In, Ease Out, Easy Ease, Linear, Hold in one click. Copy an easing and paste it elsewhere.
Moves with no button in Premiere
Punch zoom, Zoom to a region and Cut transition from the layer menu; Wiggle, Spin, Loop and Oscillate from the menu of a keyframe selection. A few fields, then keyframes.
Layer tools
Move the anchor point without the picture jumping, add motion blur, or stick the animation to the clip's edges so it follows a trim.
Saved animations
Save the keyframes you picked, paste them at the playhead or onto every layer shown, copy them as text and import them elsewhere.
Straight from the panel.
What you can do to a selection.
Copy and paste
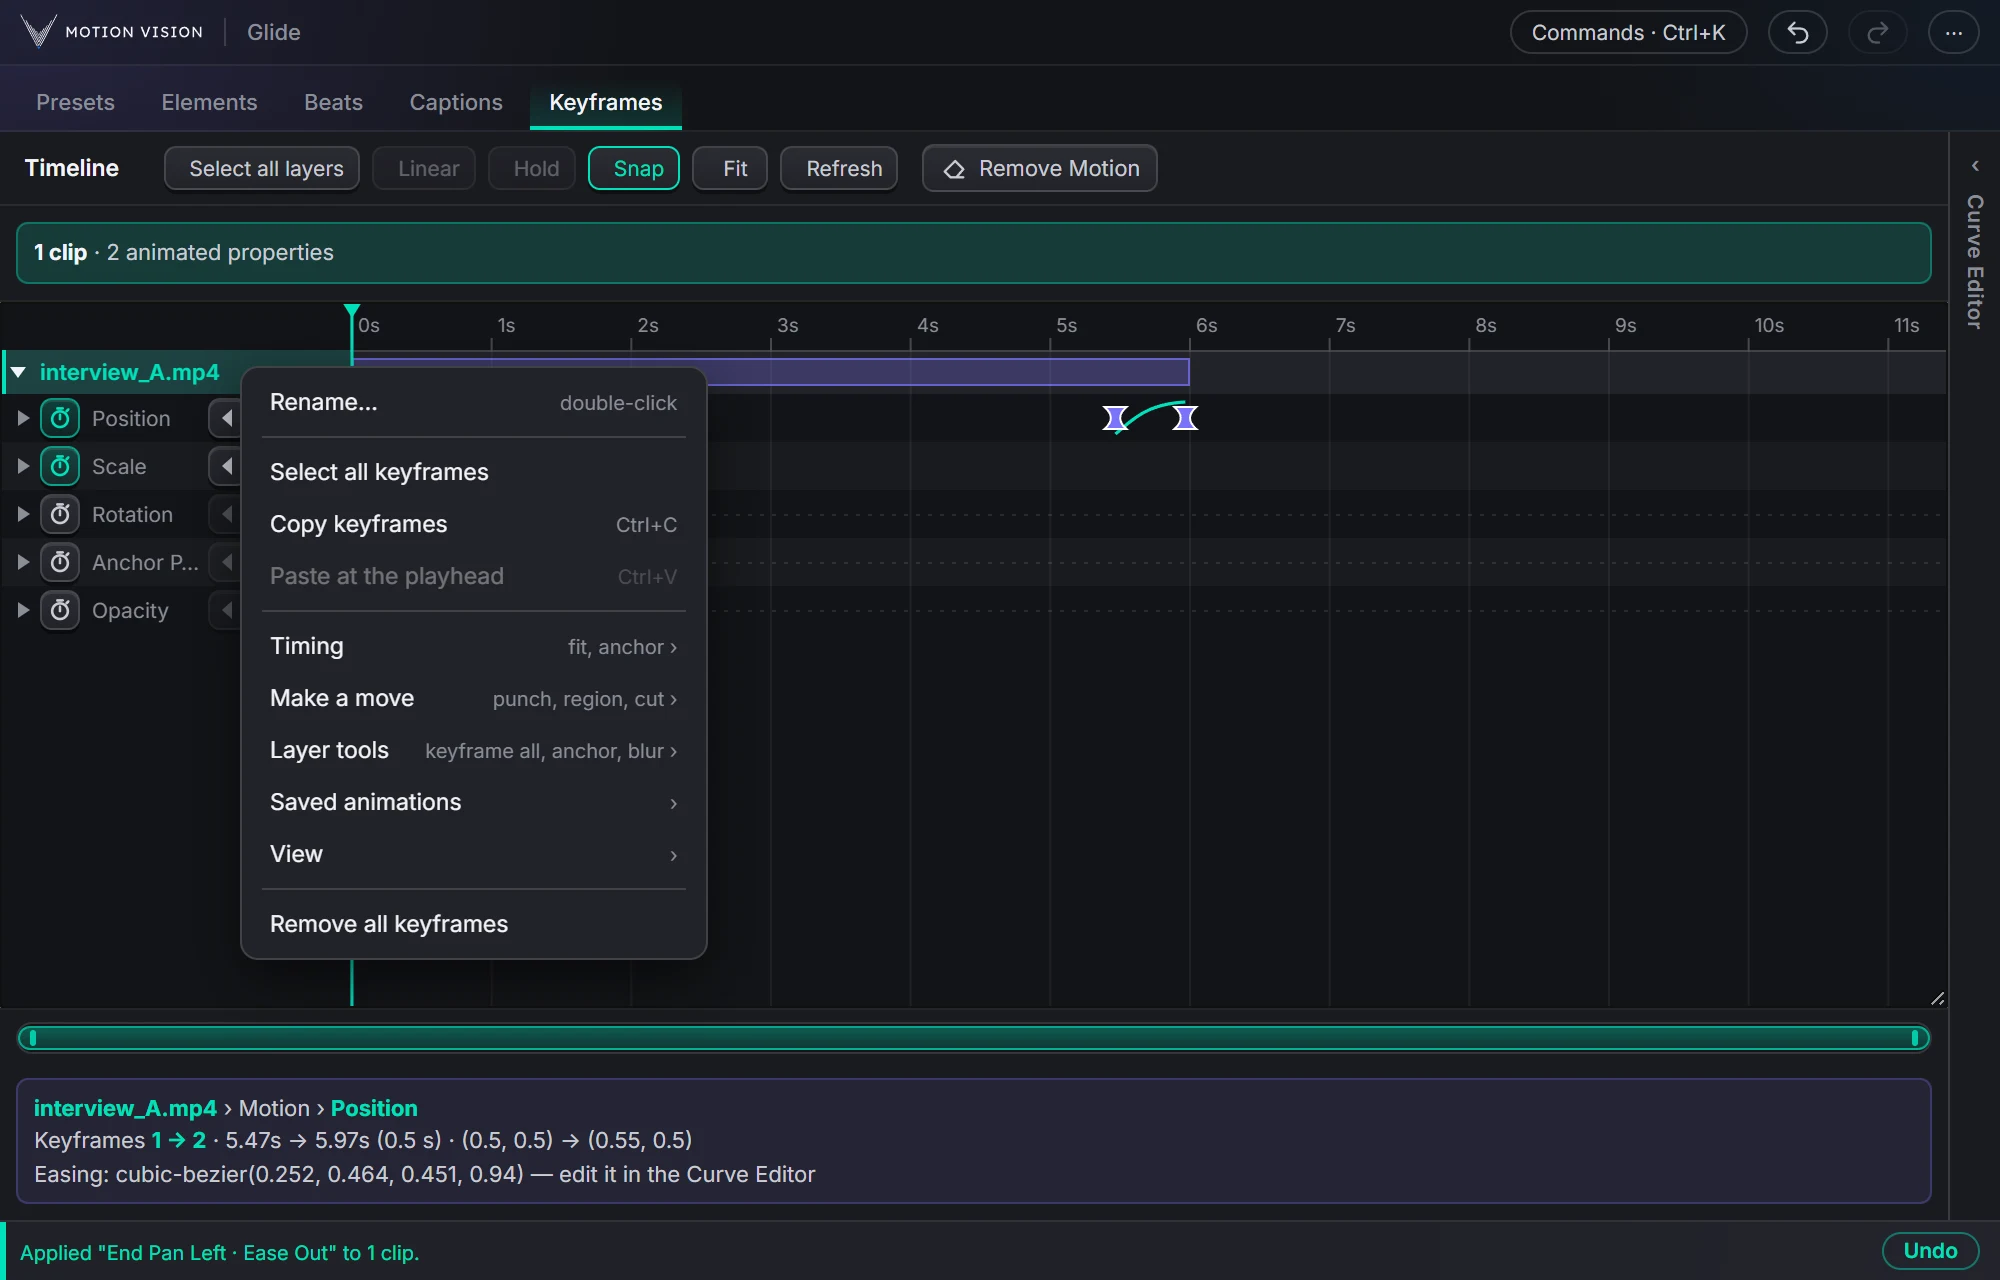
Copy keyframes, paste at the playhead, or paste onto all the layers shown. Copy easing and paste easing on their own.
Reverse, stretch, simplify
Reverse the picked keyframes, stretch or squeeze them in time by a percentage, or simplify with a tolerance.
Fit and anchor
Fit the animation to the clip length; anchor it to the clip start or end; pull keyframes that fell outside back inside.
Keyframe everything at the playhead
One keyframe on every property shown, at the playhead. Insert pause here holds every value for a while.
Link and mirror
Link easing across properties so Scale and Position share one curve; mirror an easing to get its opposite.
Straight, Ease, Hold
Linear strips a stretch's easing; Hold keeps the first value until the next keyframe; Bezier, Auto Bezier and Continuous Bezier like Premiere's own; Exponential for a steady zoom. Ease In, Ease Out, Easy Ease and their slow variants are one click.
Moves Premiere has no button for.
Punch zoom, Zoom to a region and Cut transition sit under Make a move in the layer menu. Wiggle, Spin, Loop and Oscillate are in the menu of a keyframe selection; Stagger under All clips.
Wiggle
Random movement on a property: how many wiggles per second and how far, in the property's own units.
Shake
A camera shake in pixels, or Shake through the cut for a hit on an edit.
Spin
Clockwise or counter-clockwise, from the playhead or over the whole clip, with the number of turns.
Punch zoom
A quick zoom by a percentage: at each clip start, at the sequence markers, or every few seconds.
Zoom through the cut
The picture gets bigger across an edit, a few frames each side, for an invisible-feeling cut. Exponential gives a steady zoom.
Oscillate, Loop, Stagger
Swing a value back and forth; repeat a stretch with pauses between; start each layer a few frames after the previous one.
Sound rows and ways of looking.
Level and Pan
Show the selected audio clips too. Values in dB or linear.
Fades and ducking
Fade in from silence, fade out to silence, or duck between marker pairs by a number of dB with a ramp each side.
Speed graph
See a property as speed instead of value, to spot bumps.
Zoom to a region
Frame a stretch of time; Fit brings everything back; Follow the playhead keeps it in view.
Only what moves
Show only animated properties, and an automatic graph range.
Lock to these clips
Keep the Timeline on the clips you chose while you click around elsewhere in Premiere.
How it edits without breaking anything.
Reads back, then understands
Whether Glide wrote a dense curve or you placed three keyframes by hand, the Timeline works out the real keyframes and a curve per stretch.
Edits a simple model
Moving a keyframe keeps each stretch's easing shape; deleting one joins its neighbours with a straight line; adding one splits the curve exactly.
Writes plain keyframes
The model is baked back into Premiere keyframes at the Smoothness you chose. Premiere's own graph is never touched.
Safe undo
Before undoing, Glide compares what Premiere holds now with what it left there. If you changed something in Effect Controls since, it asks instead of overwriting.
How you move around.
Three steps.
Select clips
One or several. Their animated properties appear as rows.
Edit
Drag diamonds, box-select, click a stretch for its curve, or pick a tool from the menu.
It writes back
Every change becomes plain keyframes on the clip, one undo step each.
Questions about Timeline.
Does it touch Premiere's own graph editor?
No. The Timeline edits a simple model of the keyframes and writes plain keyframes back. Premiere's graph is left alone.
Which properties show up?
Everything keyframed on the selected clips: Motion, Opacity, effect properties, and audio Level and Pan if you switch them on.
I changed a value in Effect Controls. Does Glide know?
Yes. The Timeline reads the clips again when Premiere changes, and undo compares before it writes.
Can I copy an animation to another clip?
Yes. Copy the keyframes and paste them at the playhead on another clip, or onto all layers shown. Saved animations keep them for later.
The rest of the panel.
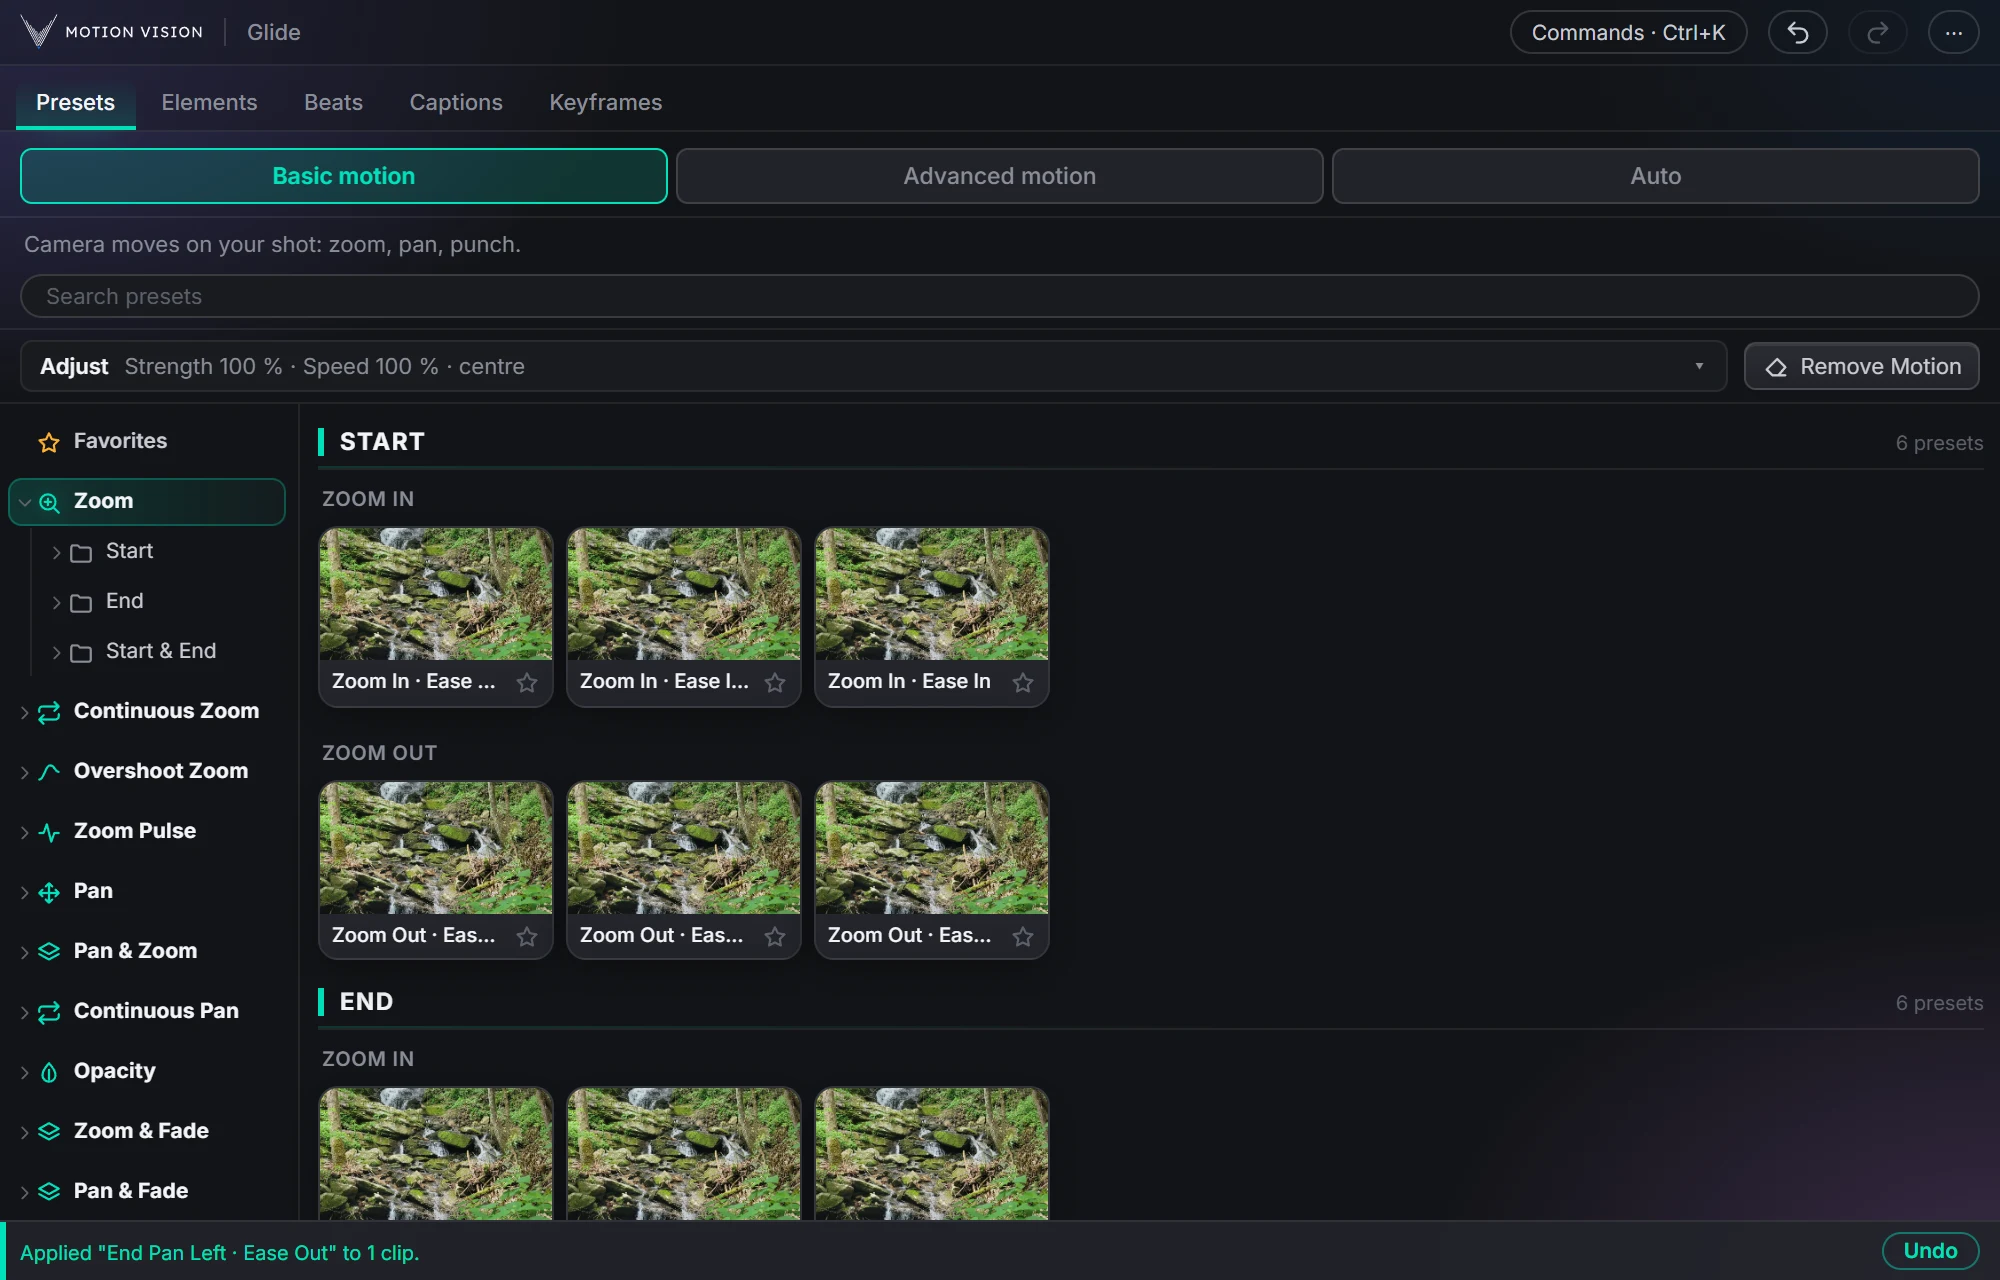 Camera movesPresetsZooms, pans, punches and fades in one click.Learn more →
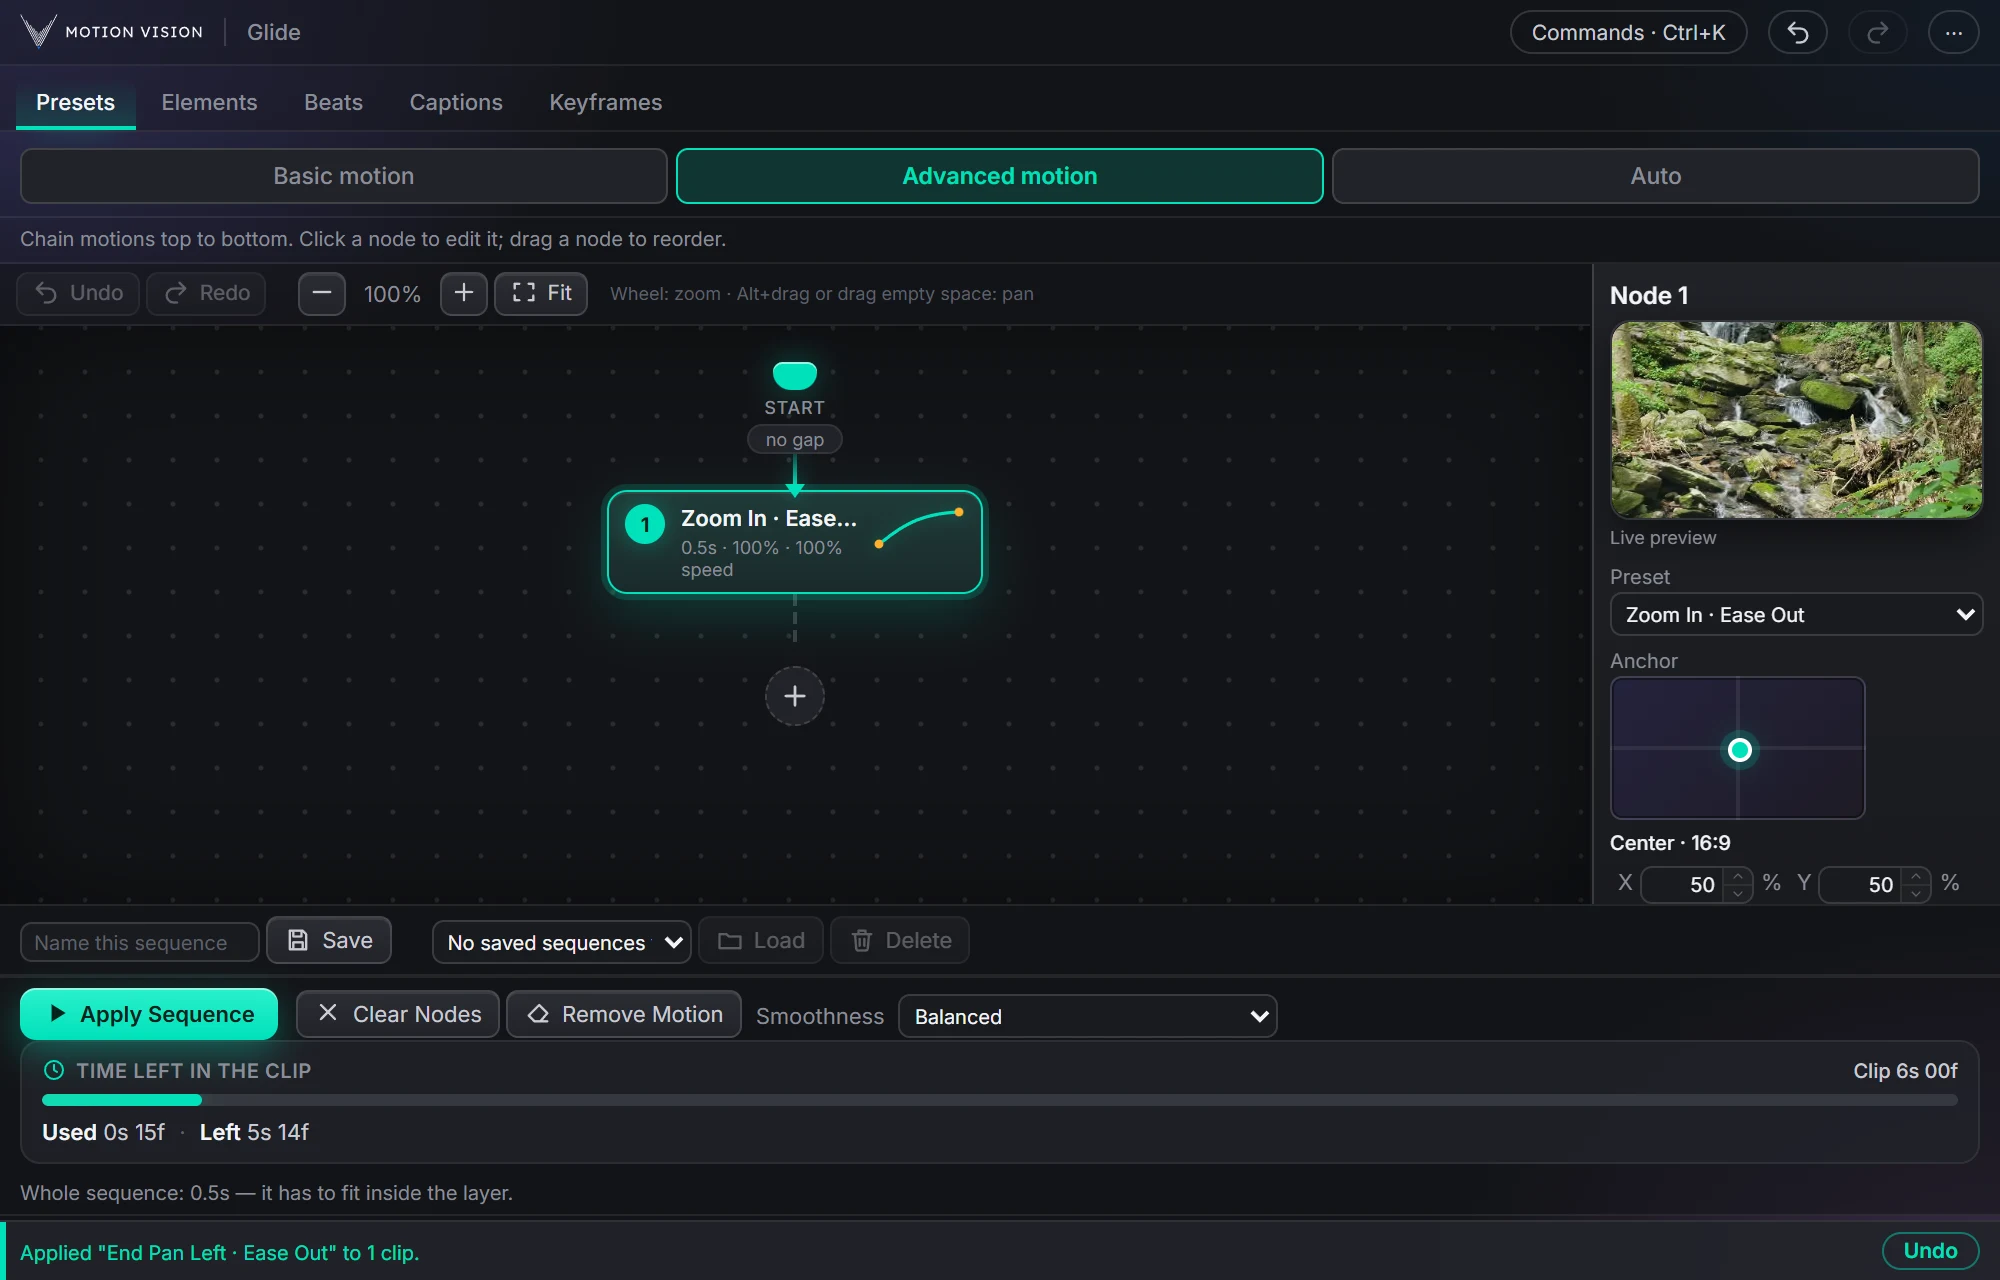 SequencesAdvanced motionChain moves as nodes and apply the whole sequence.Learn more →
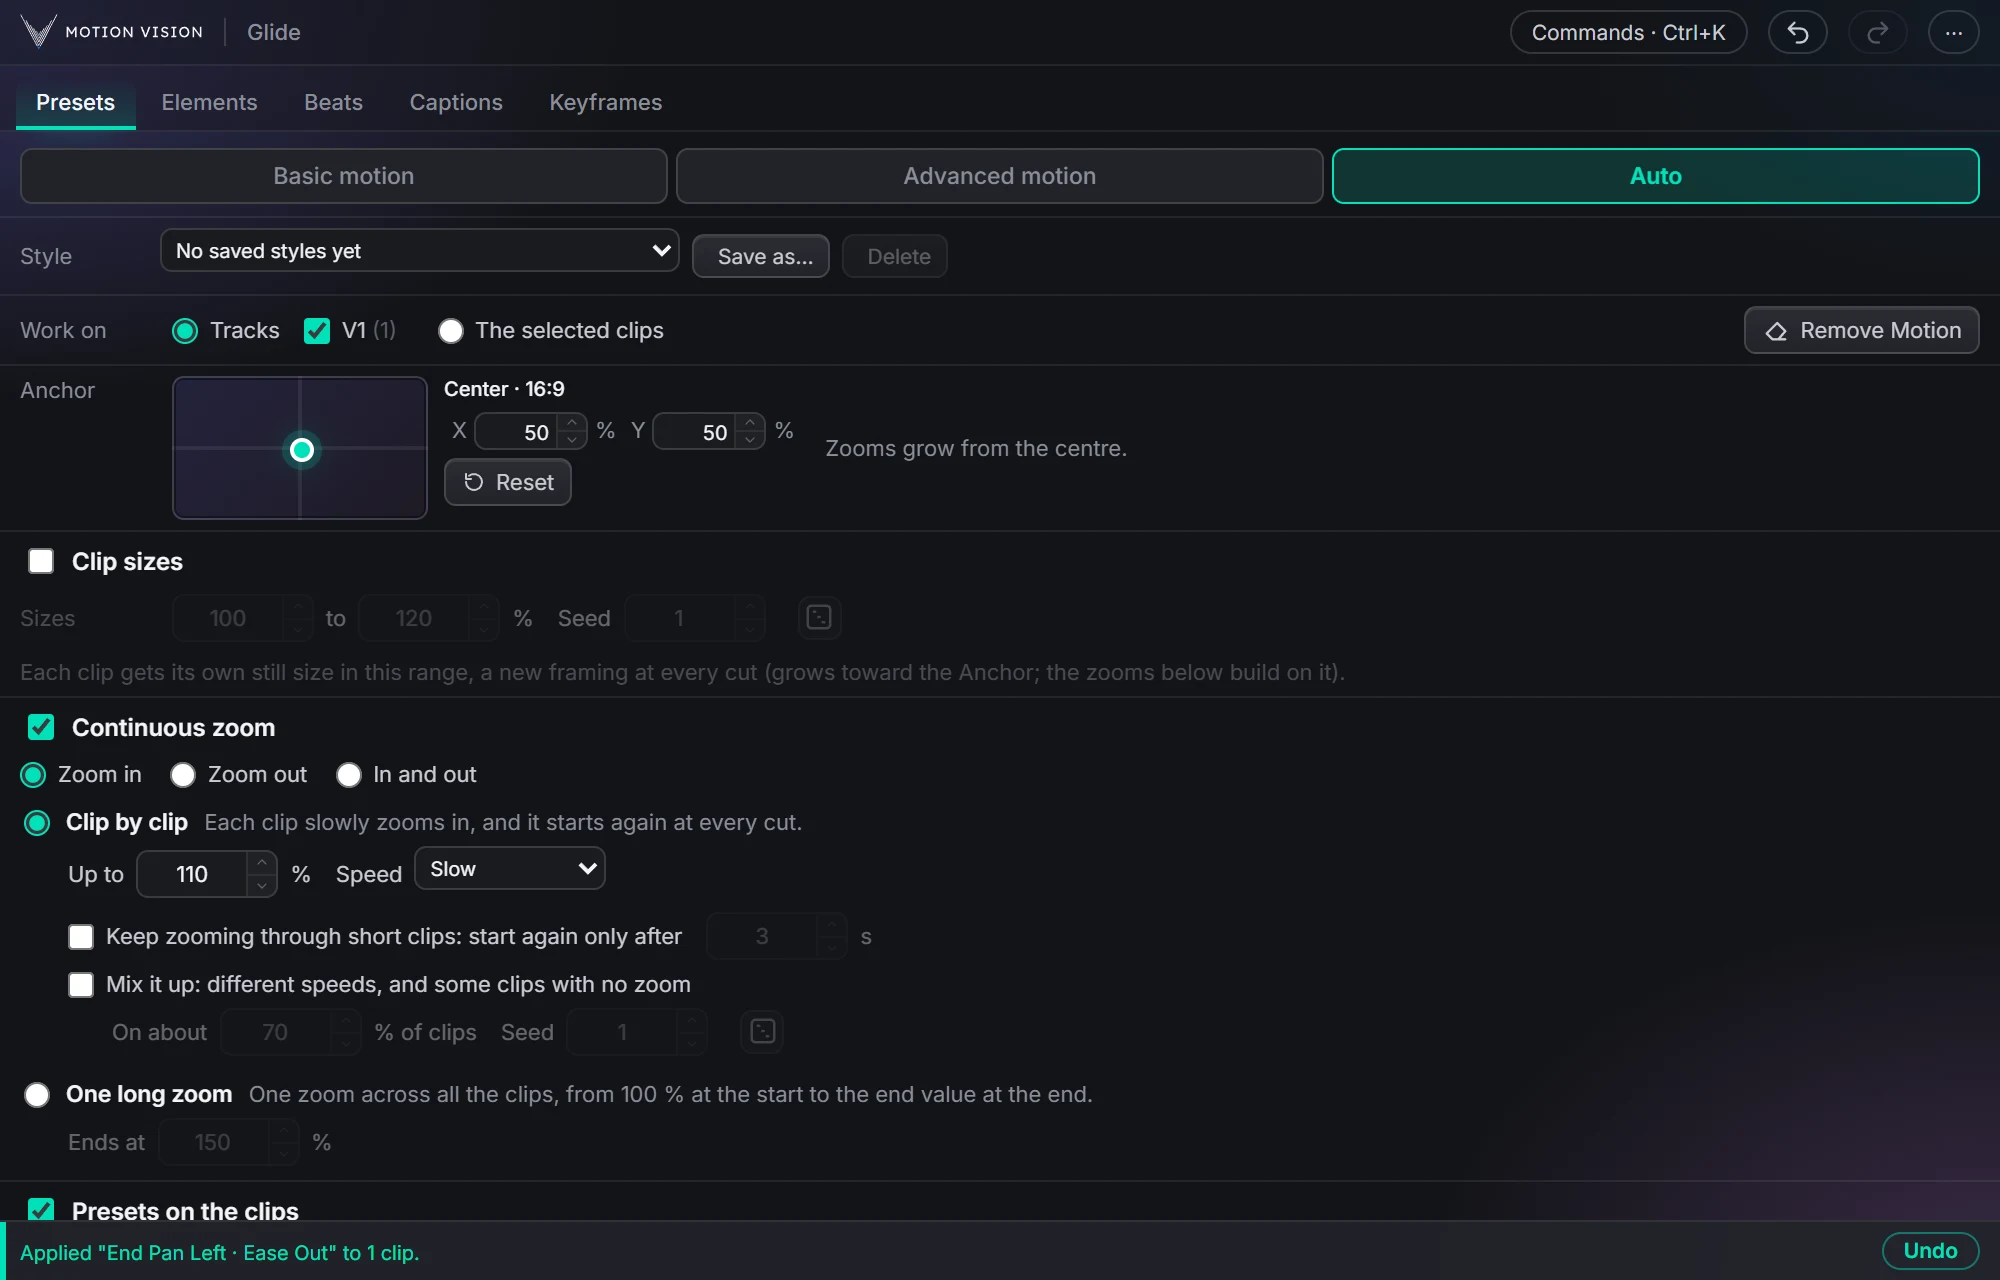 Whole timelineAutoAnimate whole tracks in one click, on the beat if you like.Learn more →
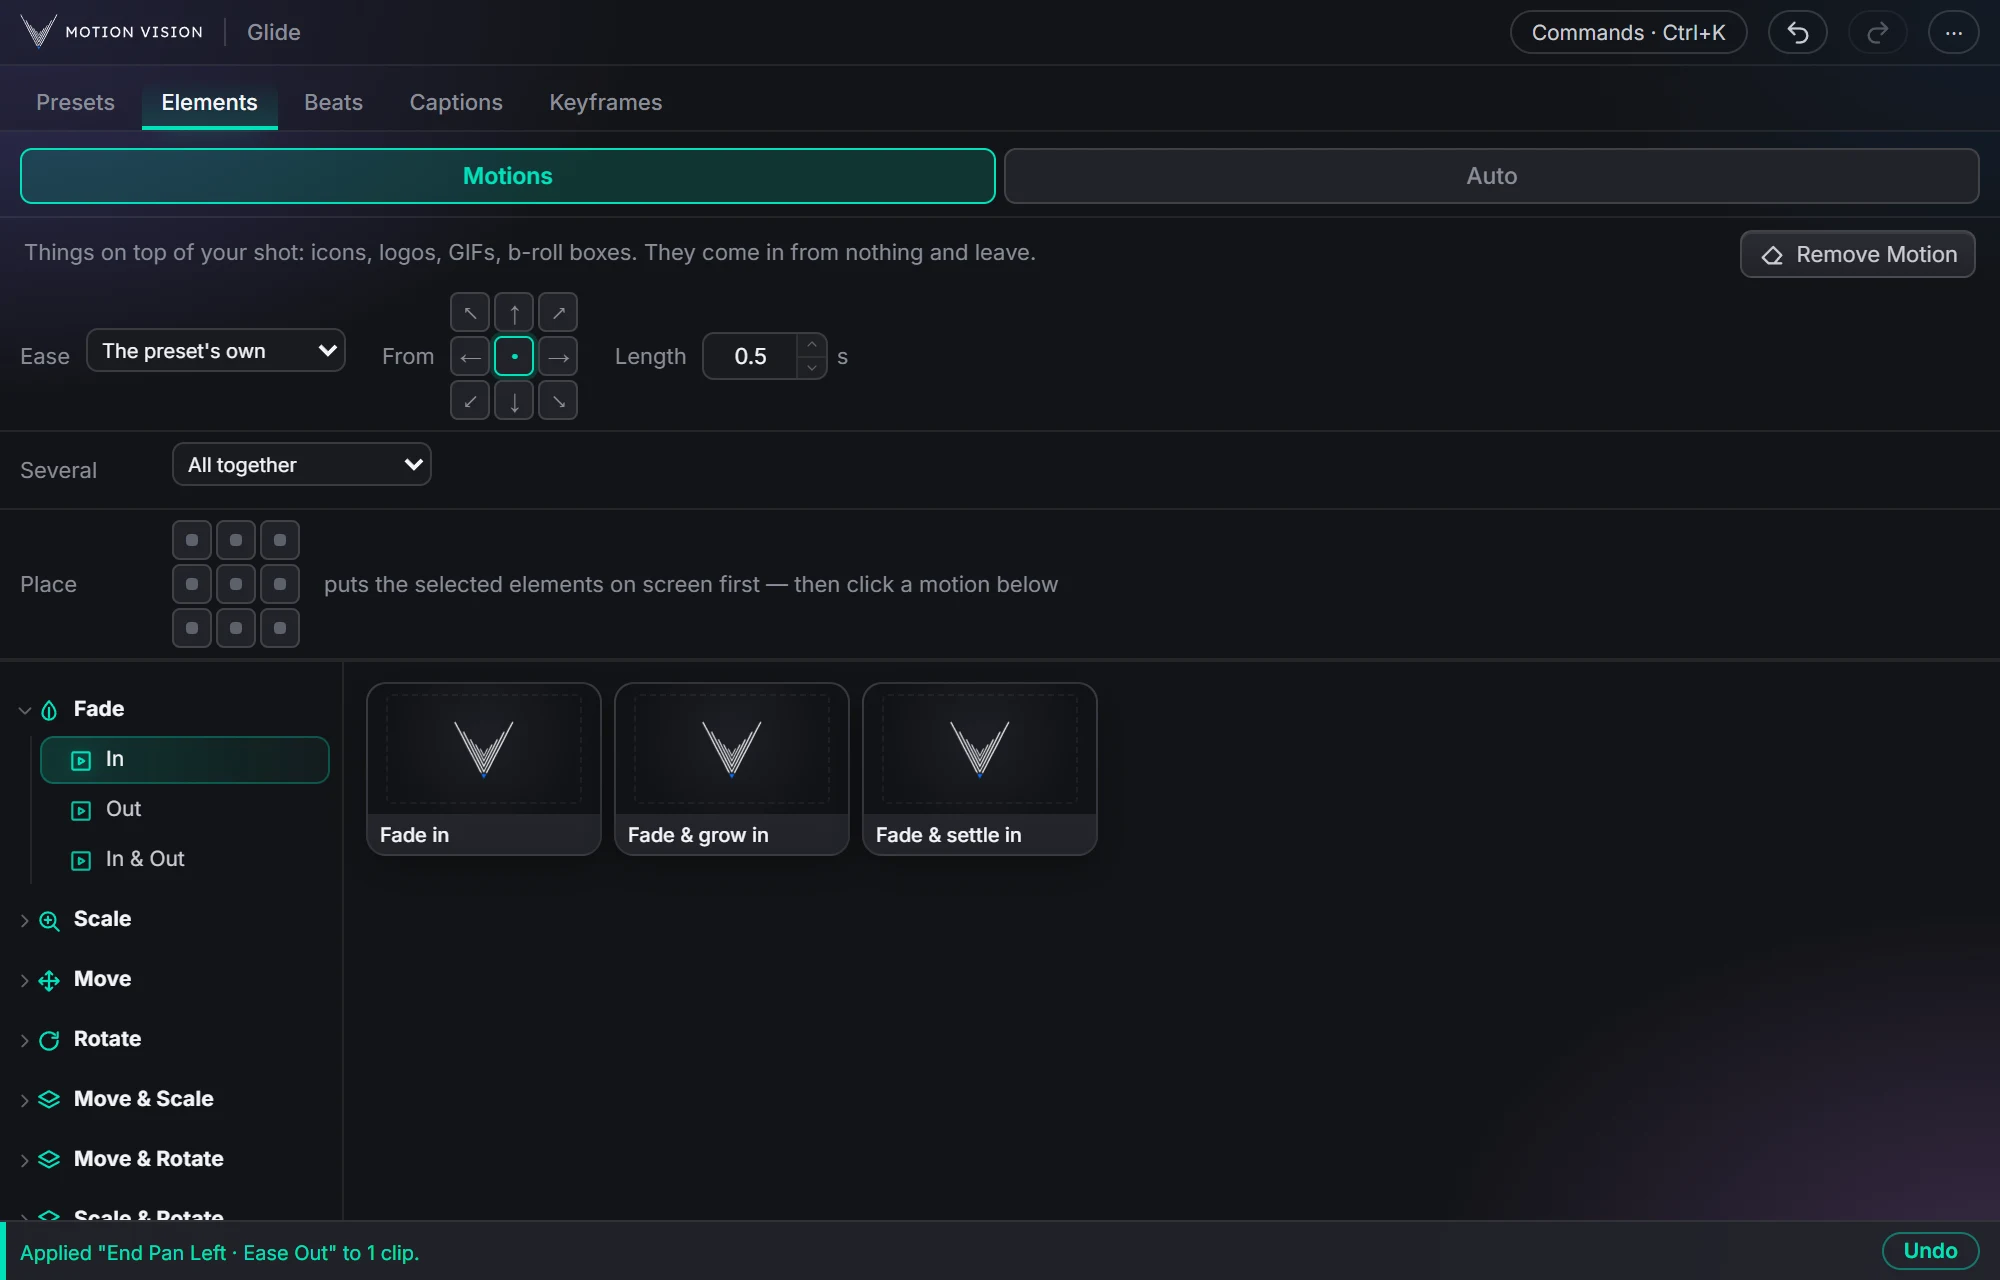 OverlaysElementsIcons, logos and b-roll that come in and leave.Learn more →
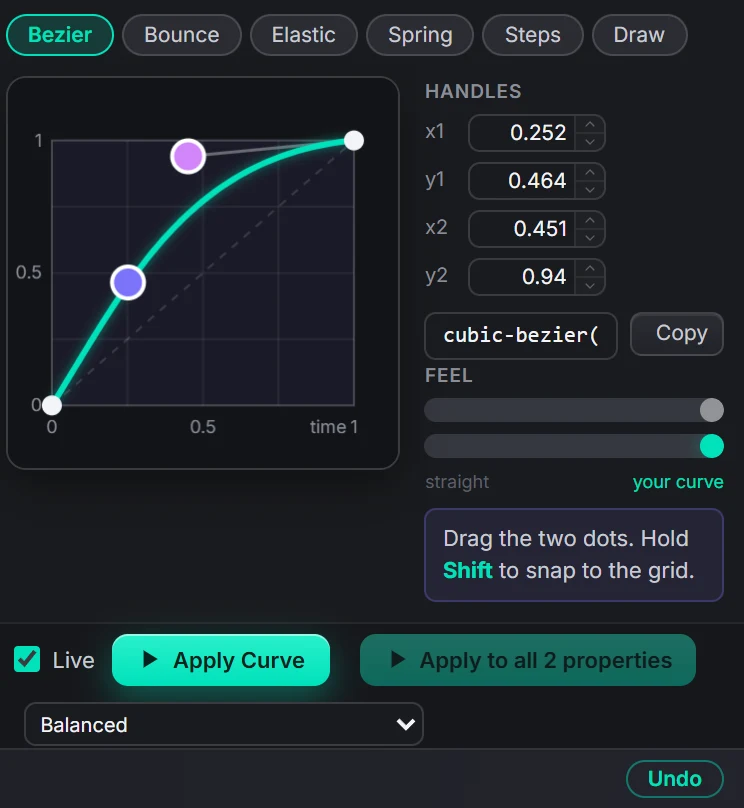 Curve editorEasingBezier, bounce, elastic, spring, steps, or draw your own.Learn more →
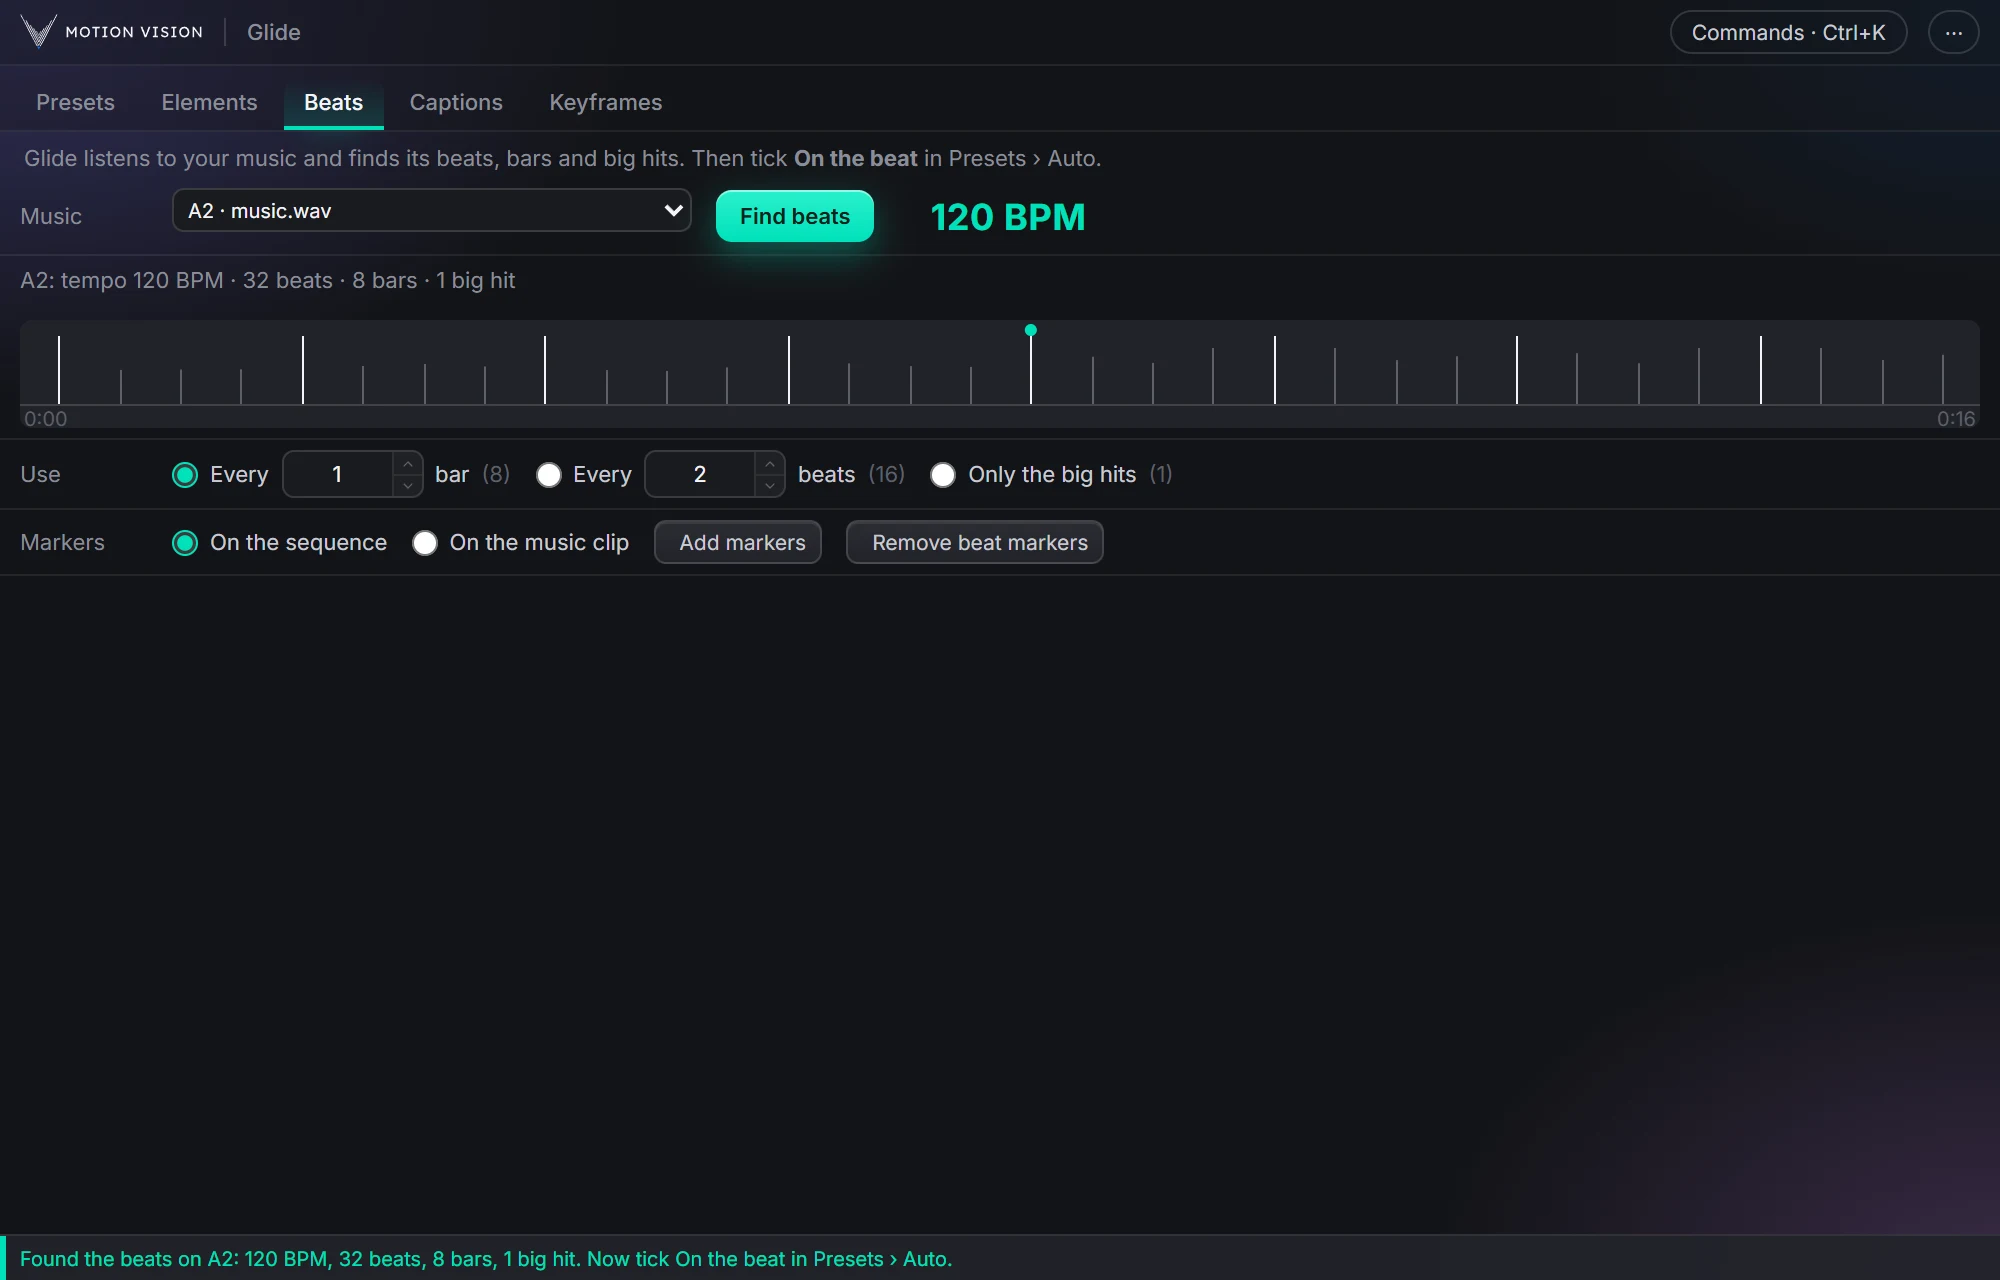 MusicBeatsReads the music and puts the punches on the beat.Learn more →
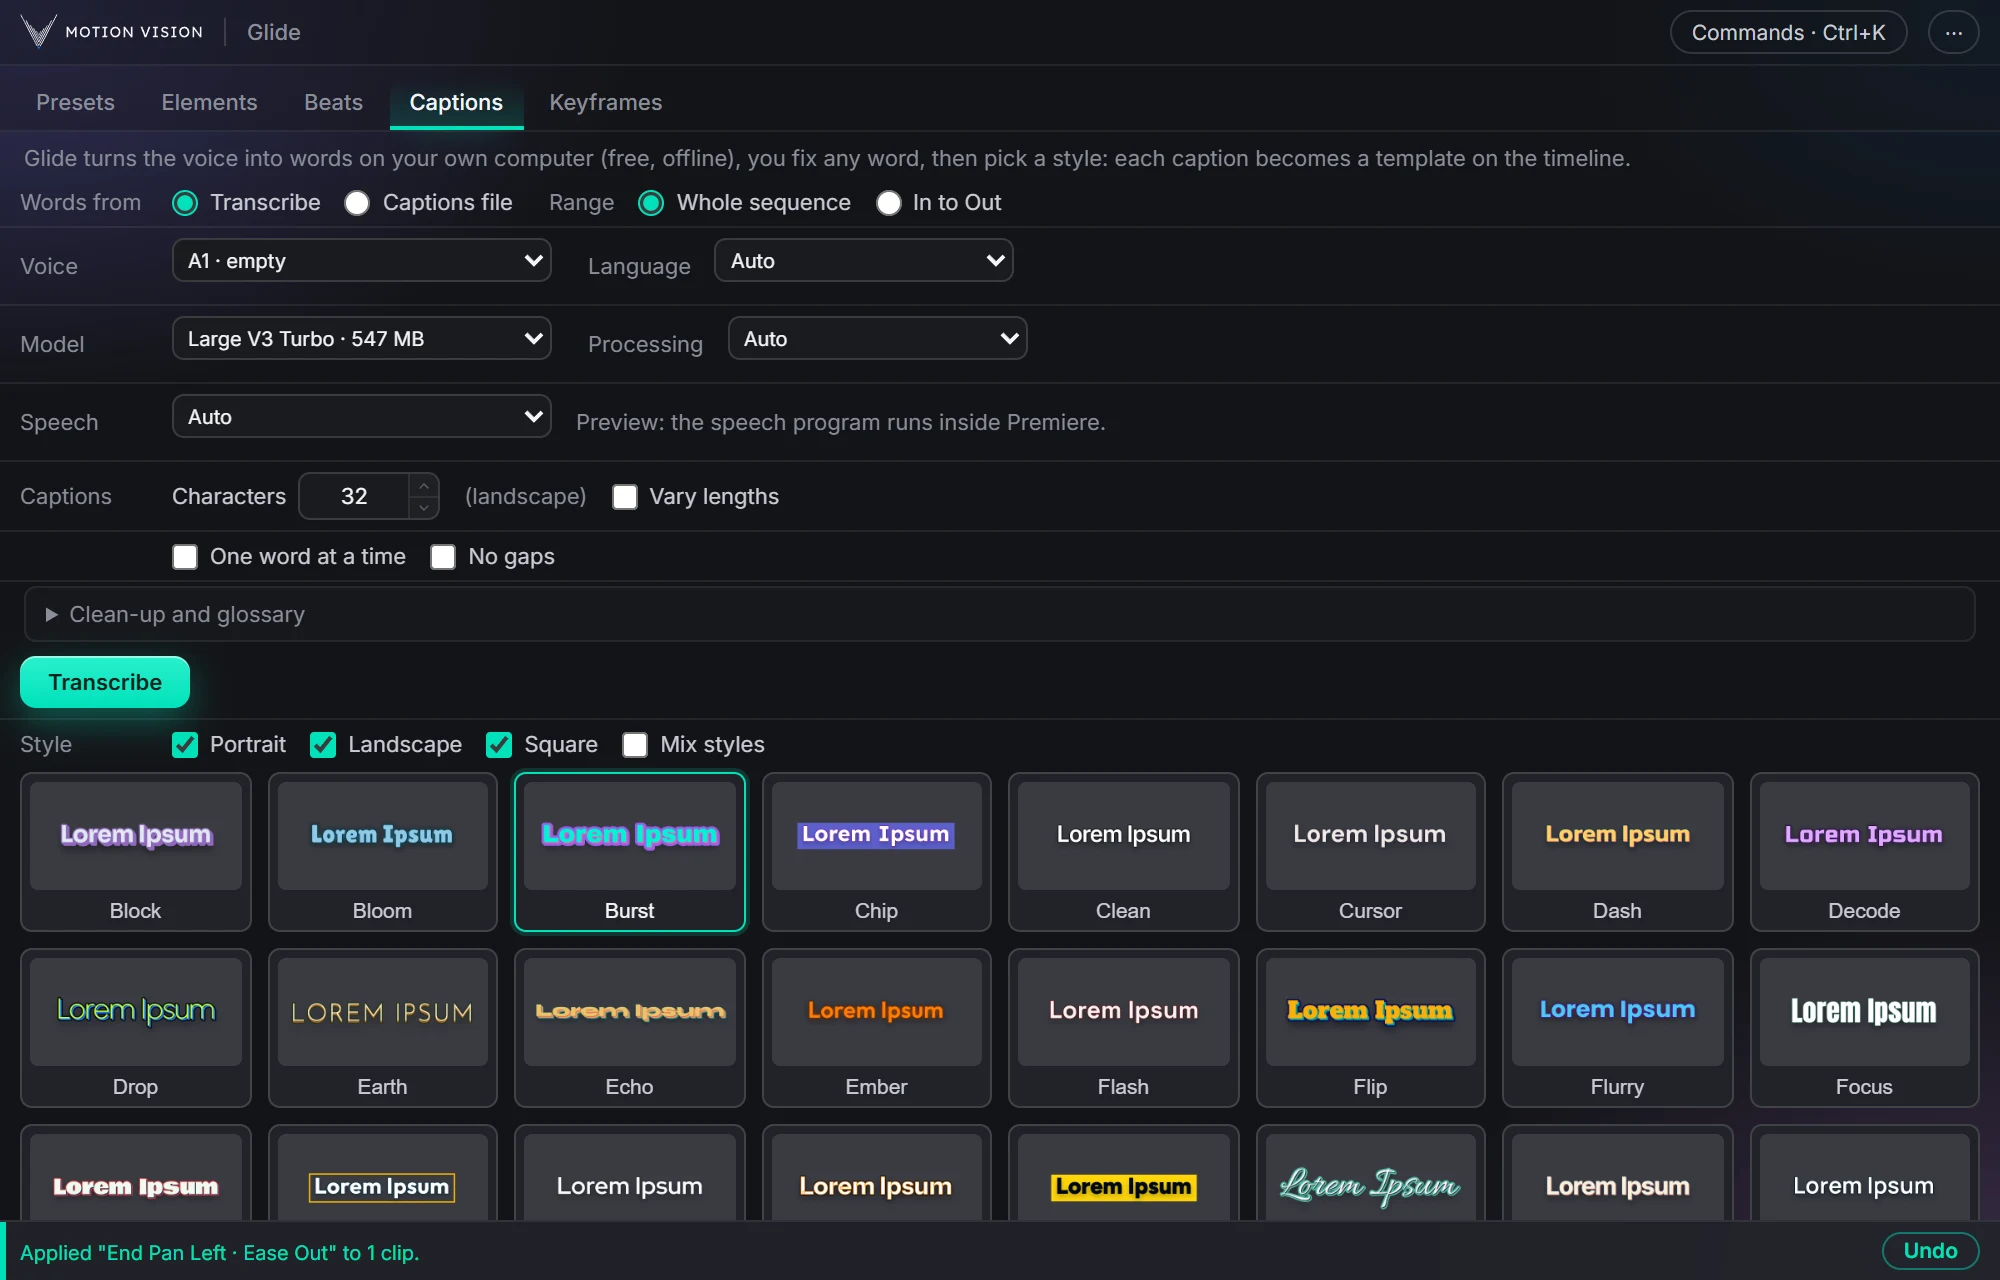 Speech to textCaptionsOffline transcription and 40 animated styles.Learn more →
Get Timelinewith everything else.
One licence, all eight tools. Try everything free for 14 days first.