
Guides › Captions
How to add animated captions in Premiere Pro
Premiere can transcribe your video and turn the words into captions by itself. What it does not do by itself is animate them: captions that pop in word by word, or light up the word being spoken, have to be built by hand or with a plugin. Both ways are below.
The short answer
- Plain captions: Text panel › Transcribe › Create captions. A few clicks, built in.
- One word at a time: the same, with the caption layout set to a single word.
- Animated captions: turn each caption into a graphic and keyframe it, one by one. Or use a plugin that does it for the whole video.

Way 1: by hand, with Premiere's own tools
Menu names are from recent versions of Premiere. Older versions call the Properties panel "Essential Graphics".
- Open the Text panel. Choose Window › Text, or switch to the Captions and Graphics workspace.
- Transcribe the sequence. In the Transcript tab press Transcribe. Premiere listens to the dialogue and writes it out. Fix any wrong words here first: every caption is made from this text.
- Create the captions. Press Create captions. In the box that opens, set how long a caption may be and how many lines it may use. For the one-word-at-a-time look, pick the single word layout if your version offers it, or set the maximum length very short.
- Style them. Select the captions on the caption track and set the font, size, colour, outline and position in the Properties panel. Save the look as a track style so every caption gets it.
- To animate, turn captions into graphics. Captions on the caption track cannot be keyframed. Select them and choose Graphics and Titles › Upgrade Caption to Graphic. Each caption becomes an ordinary graphic clip.
- Keyframe each one. On a graphic, open Effect Controls and add keyframes to Scale or Opacity for a pop or a fade. Copy the clip's attributes and paste them onto the other captions to repeat the move.
Way 2: in one pass, with Glide
Glide is a panel that sits inside Premiere. Its Captions tab does the listening, the timing and the animation together, on your own computer, and what lands on your timeline are ordinary clips you can still edit.
- Get the words. Pick the voice track and press Transcribe, or load a captions file. Translate if you need to.
- Fix them. Correct any word in the list. The glossary keeps names right every time.
- Pick a look and add. Choose Decorative, Animated or Fast, a style and its settings, then Add. The captions land on the timeline timed to the words.
The three kinds: Decorative makes every word its own clip and gives the words that matter a title style; Animated uses templates with the motion built in; Fast captions are drawn by Premiere itself and render about as quickly as plain titles.
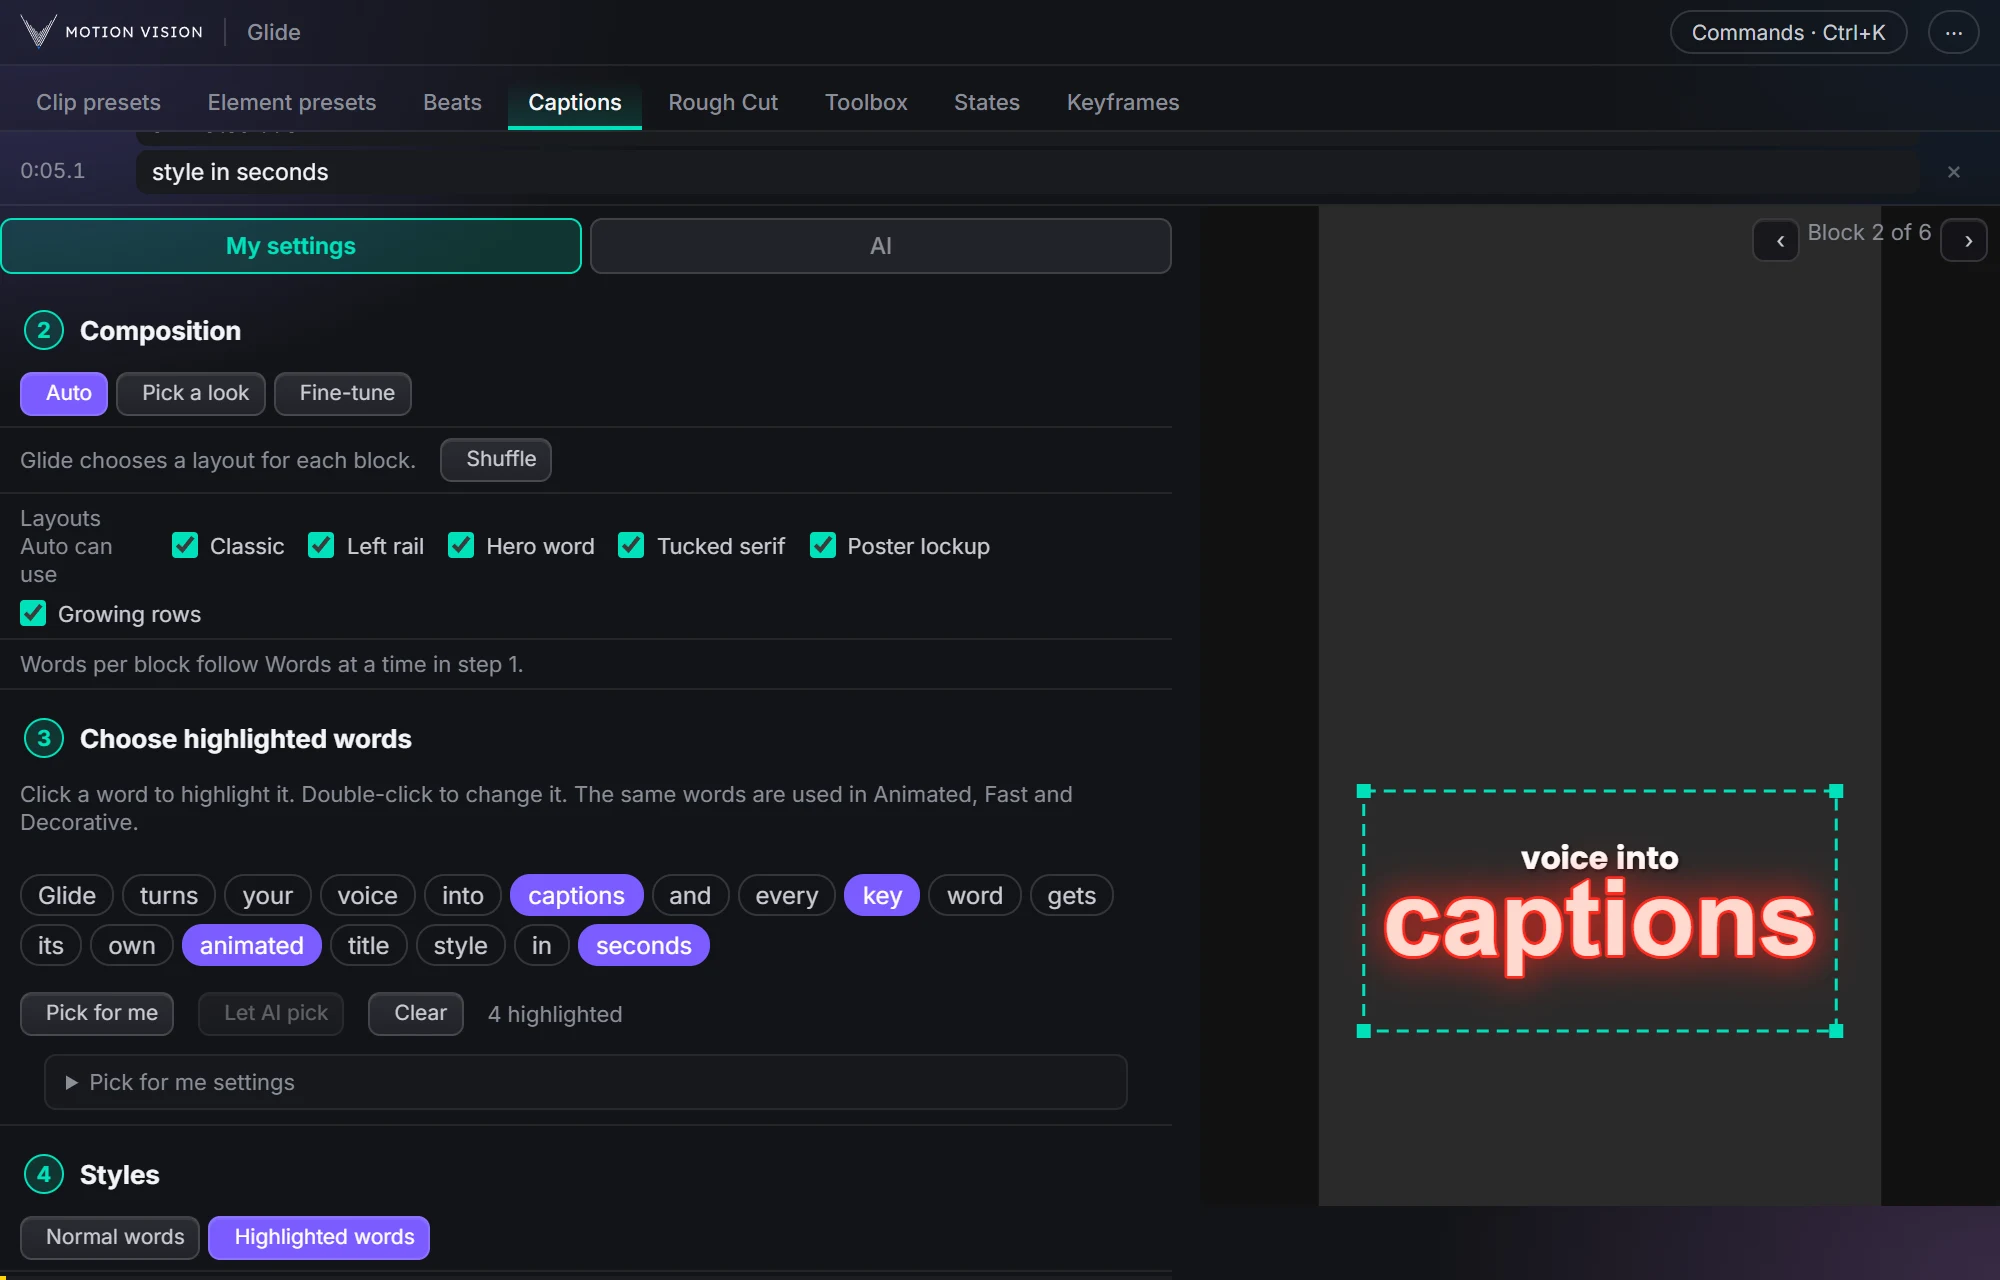
Try the captions on a talking clip.
This is Glide's own caption code running on this page. Click the words, the layouts and the looks.
Questions
Can Premiere Pro animate captions by itself?
Not on the caption track. Captions there can be styled but not keyframed. To animate them you upgrade them to graphics and keyframe each one, or you use a plugin.
Can Premiere highlight the word being spoken?
Not as a built-in caption feature. By hand it means one graphic per word with its colour changed at the right frame. Glide's Decorative and Animated captions time every word to the voice for you.
Do I need the internet or an account for Glide's captions?
No account, and nothing is uploaded. The speech model downloads once, the first time you transcribe, and then it runs on your computer.
Can I still edit the captions afterwards?
Yes. They are ordinary clips and Premiere templates on your timeline, so you can move, retime, restyle or delete any of them.
Does it work for vertical videos?
Yes: landscape, vertical (9:16), square and 4:5 sequences.
Get Glide
Glide works in Premiere 2022 or newer, on Windows and on a Mac. You pay once.
Buy Glide · $39 Everything Captions does
More guides: Remove silence automatically · Make a smooth zoom